🎃 Halloween Mini Pie Mold Set – 8 Spooky Designs for Easy Festive Baking

$36.00 NZD
Style(Buy More Save More)
Quantity
🎃 8 HALLOWEEN DESIGNS • ONE BAKING SET

Make 8 Different Halloween Hand Pies With Easy DIY Shaping

Cut, shape and press festive mini pies with hinged molds designed for pumpkins, ghosts, bats, cats and more. Easier DIY shaping, cleaner-looking edges, and a party tray that feels made for Halloween.

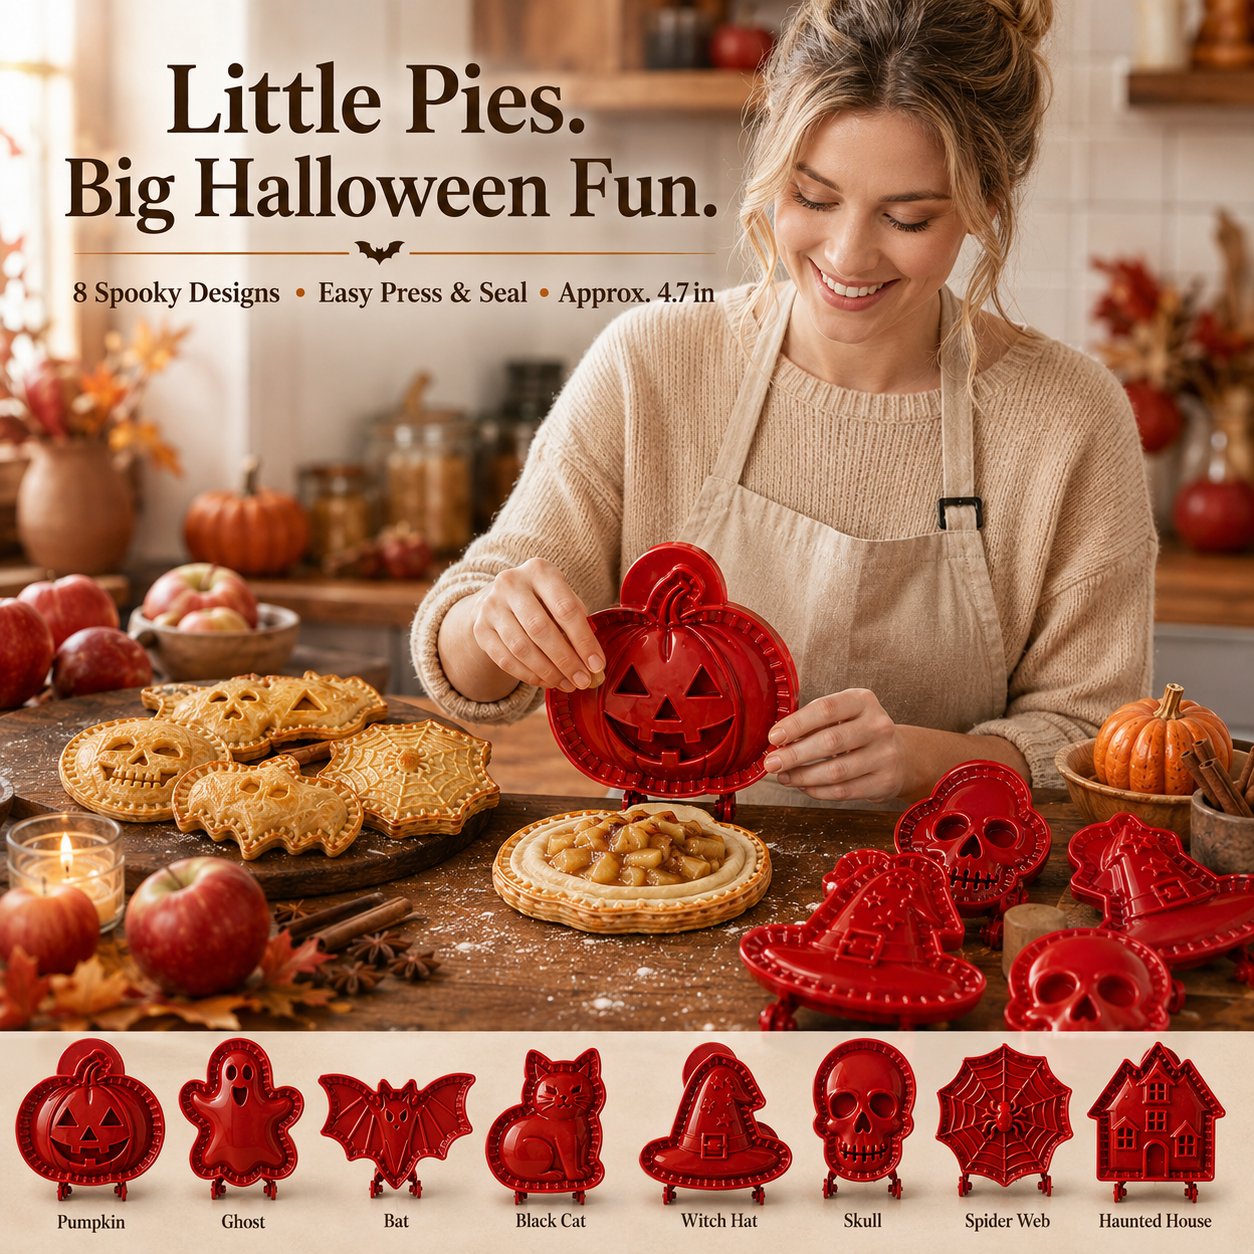
👻 8 Character Designs 🥧 Cut • Fill • Press 📏 Approx. 4.7 × 4.7 in Each
Turn one batch of dough into a full tray of spooky characters.
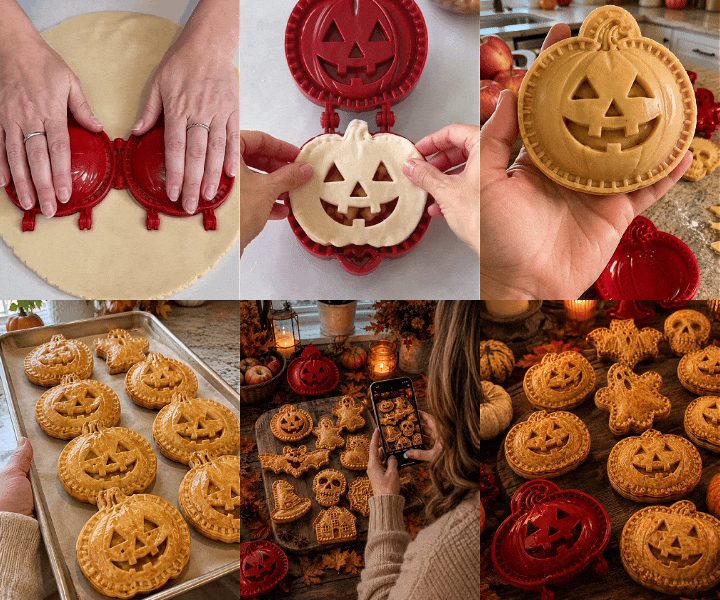
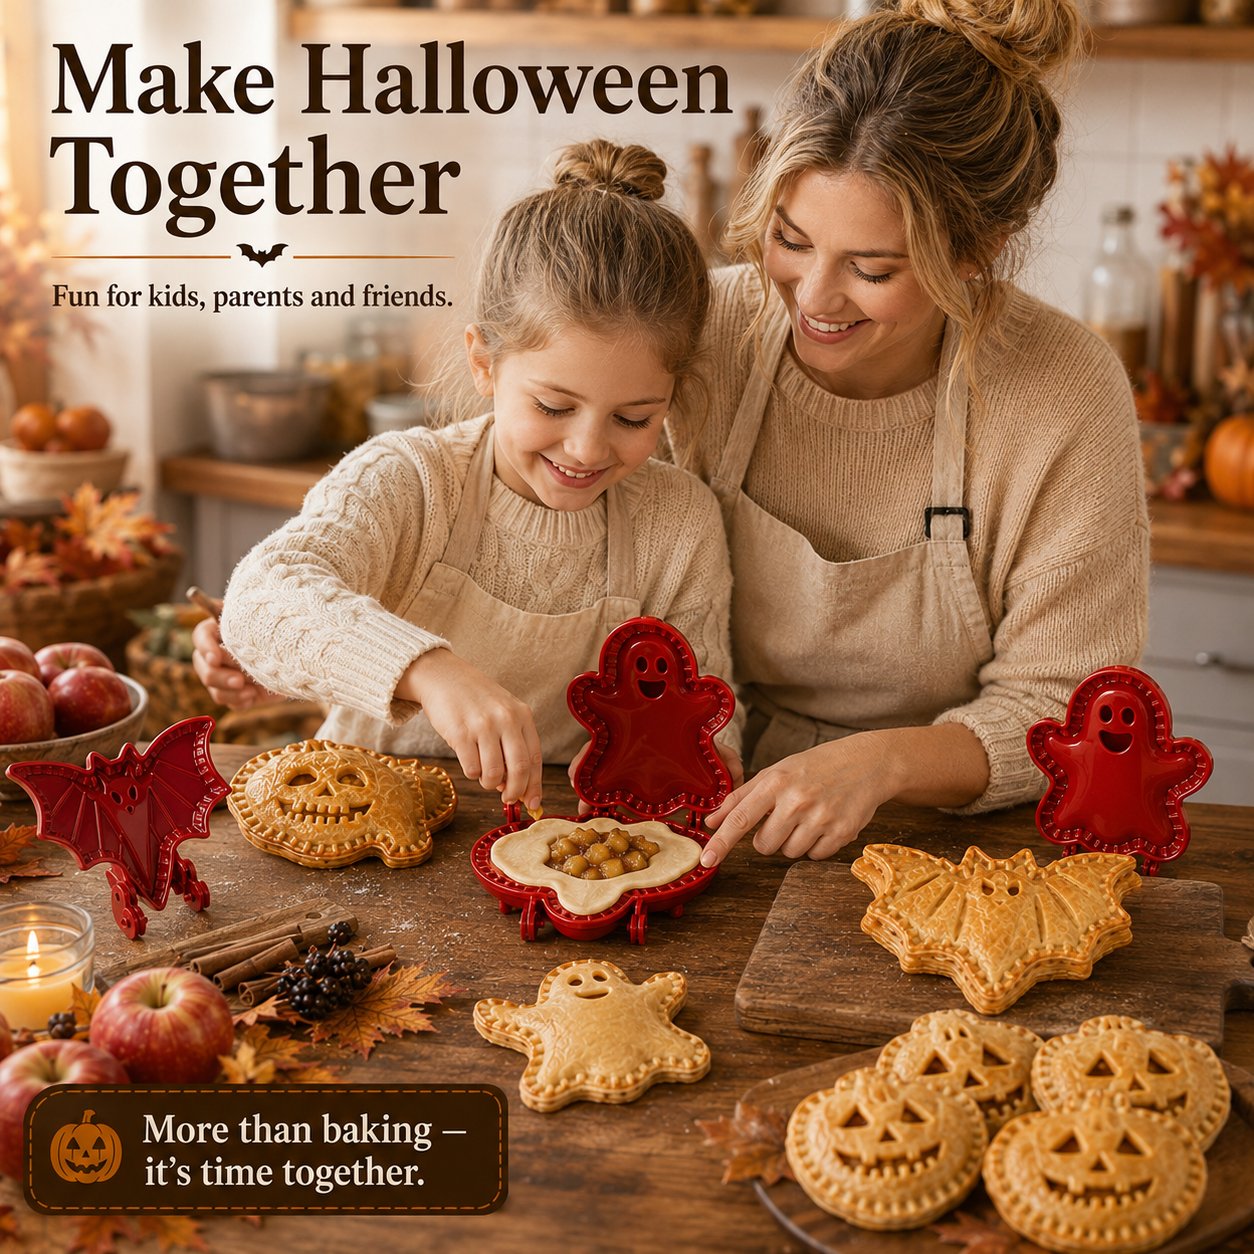
Halloween mini hand pie maker in use

The hinged mold helps create the character outline, decorative top and pressed edge for an easier DIY baking process.

An Easier Way to Create DIY Halloween Pies

Easier DIY shaping
The mold creates the character outline and pressed border, helping simplify the shaping and sealing process.
More variety on one tray
Use eight different designs in the same batch instead of repeating one shape all night.
Individual desserts, ready to serve
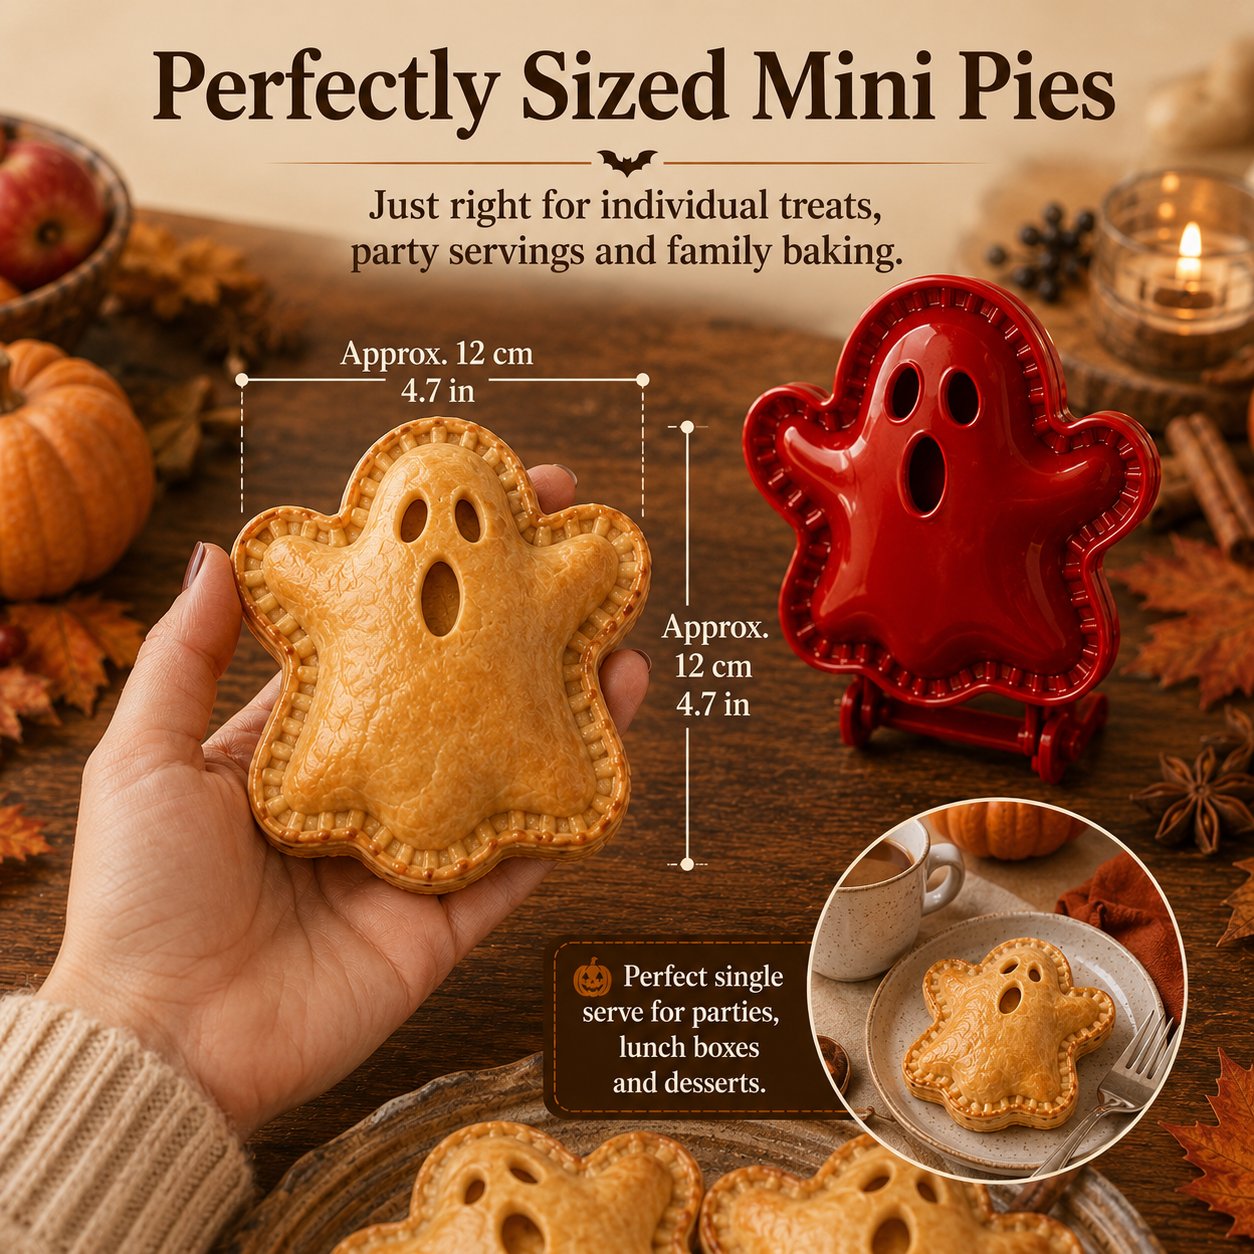
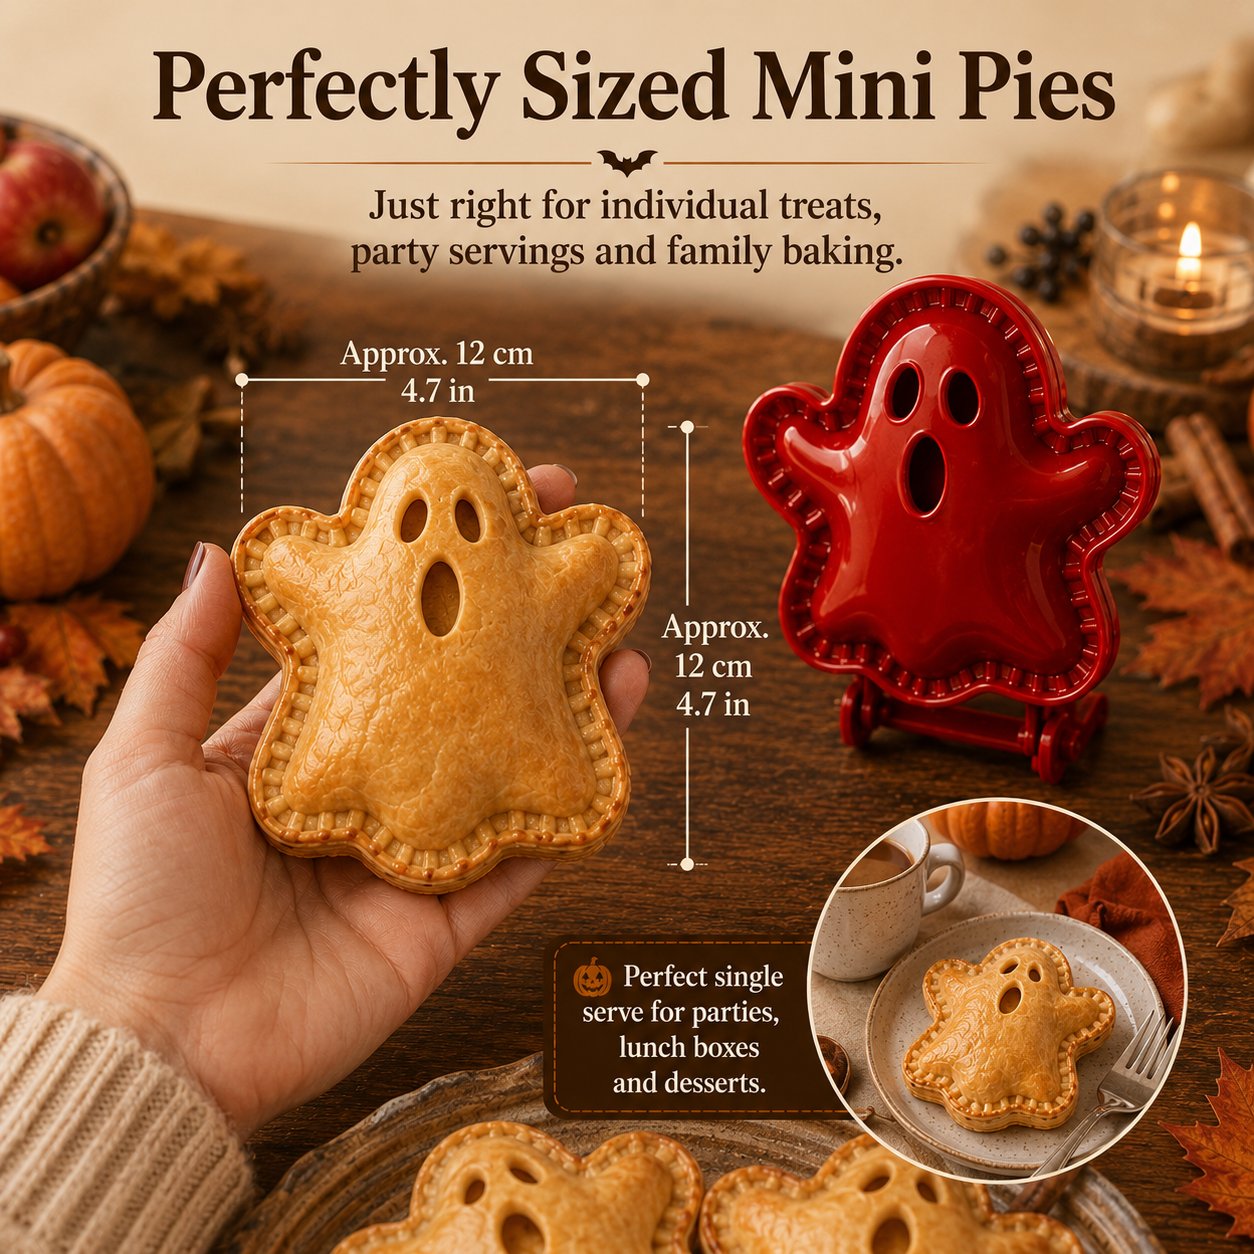
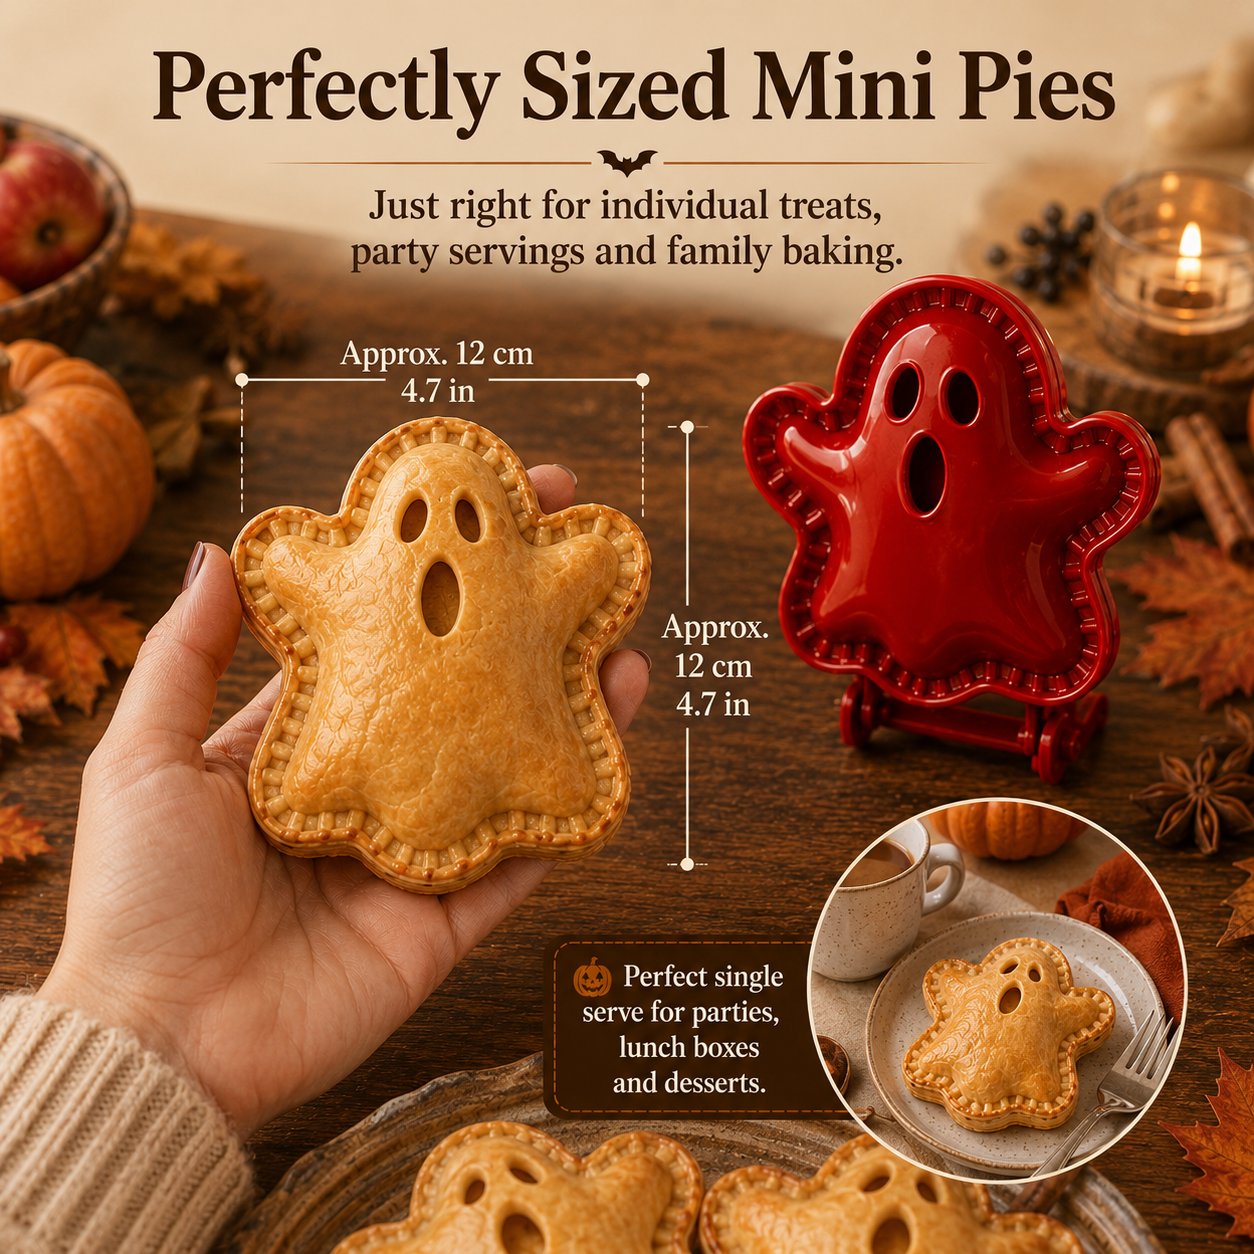
At about 4.7 × 4.7 in / 12 × 12 cm per mold, each pie is sized as a personal treat rather than a tiny bite.
THE FULL SPOOKY CAST

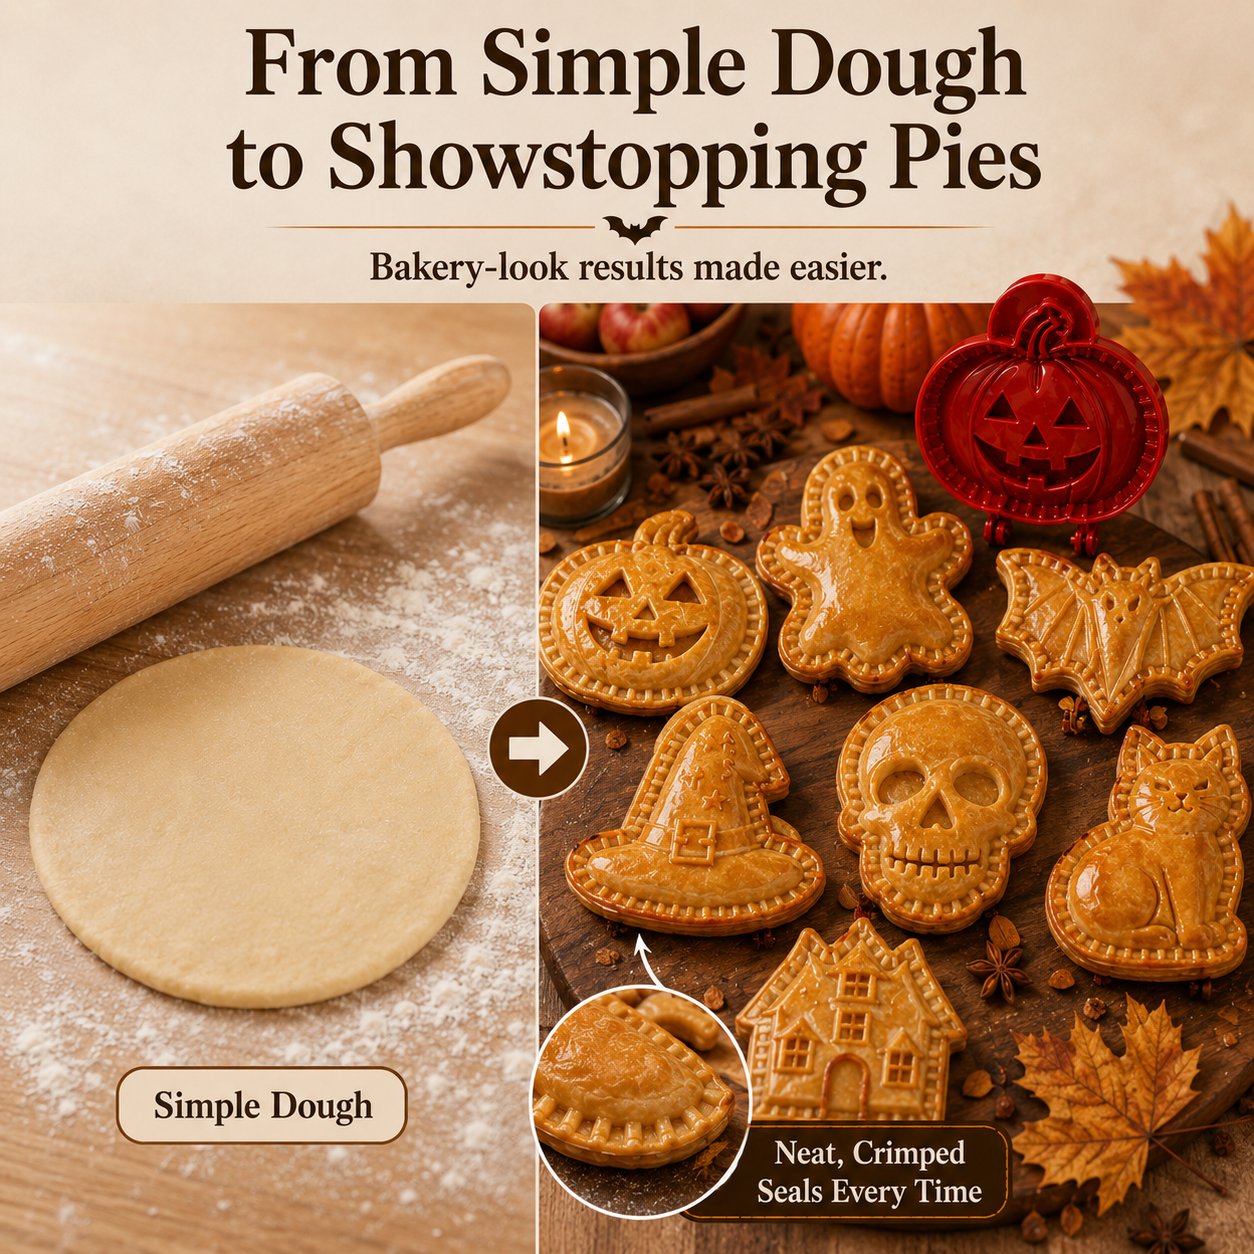
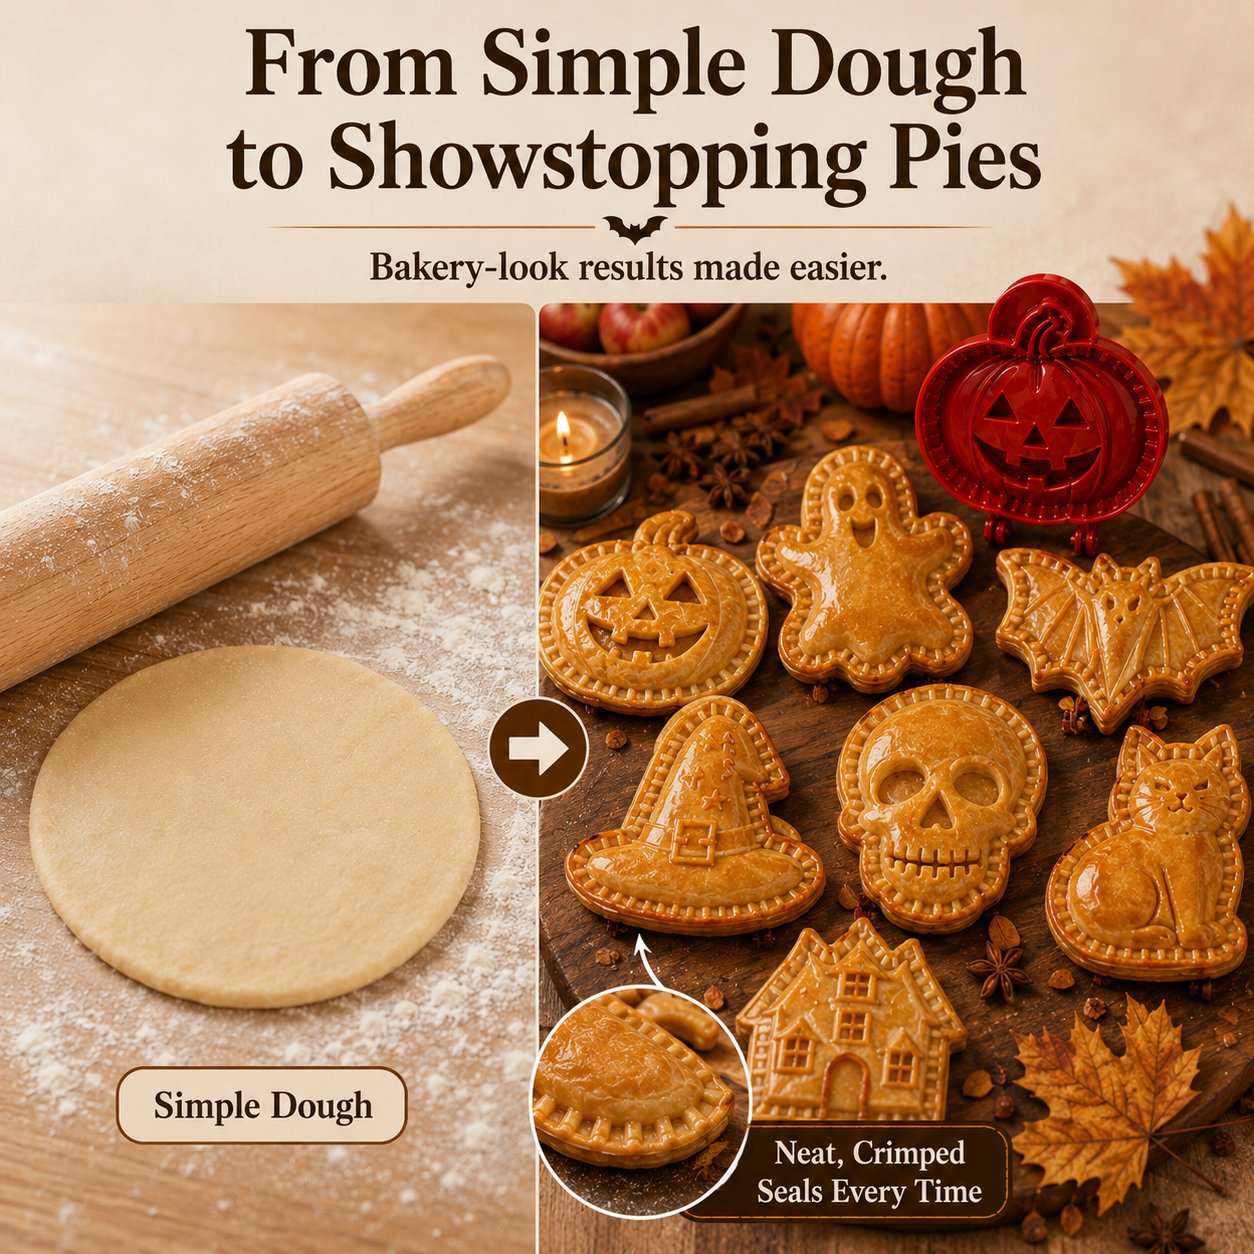
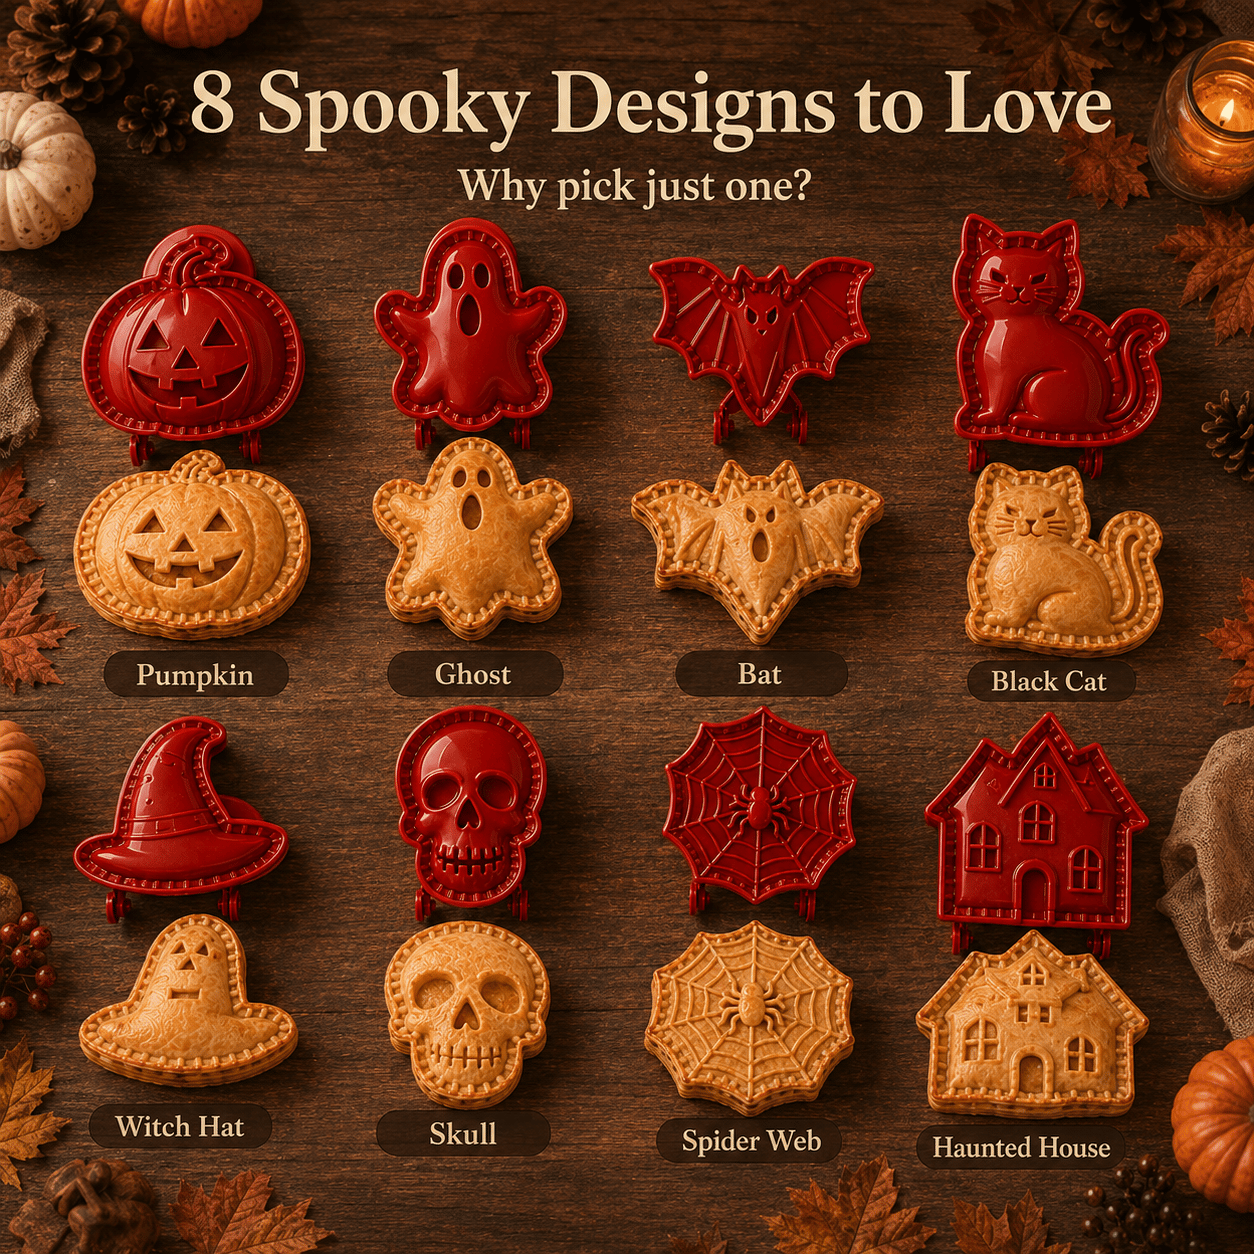
8 Designs Make the Finished Tray Feel Like a Collection

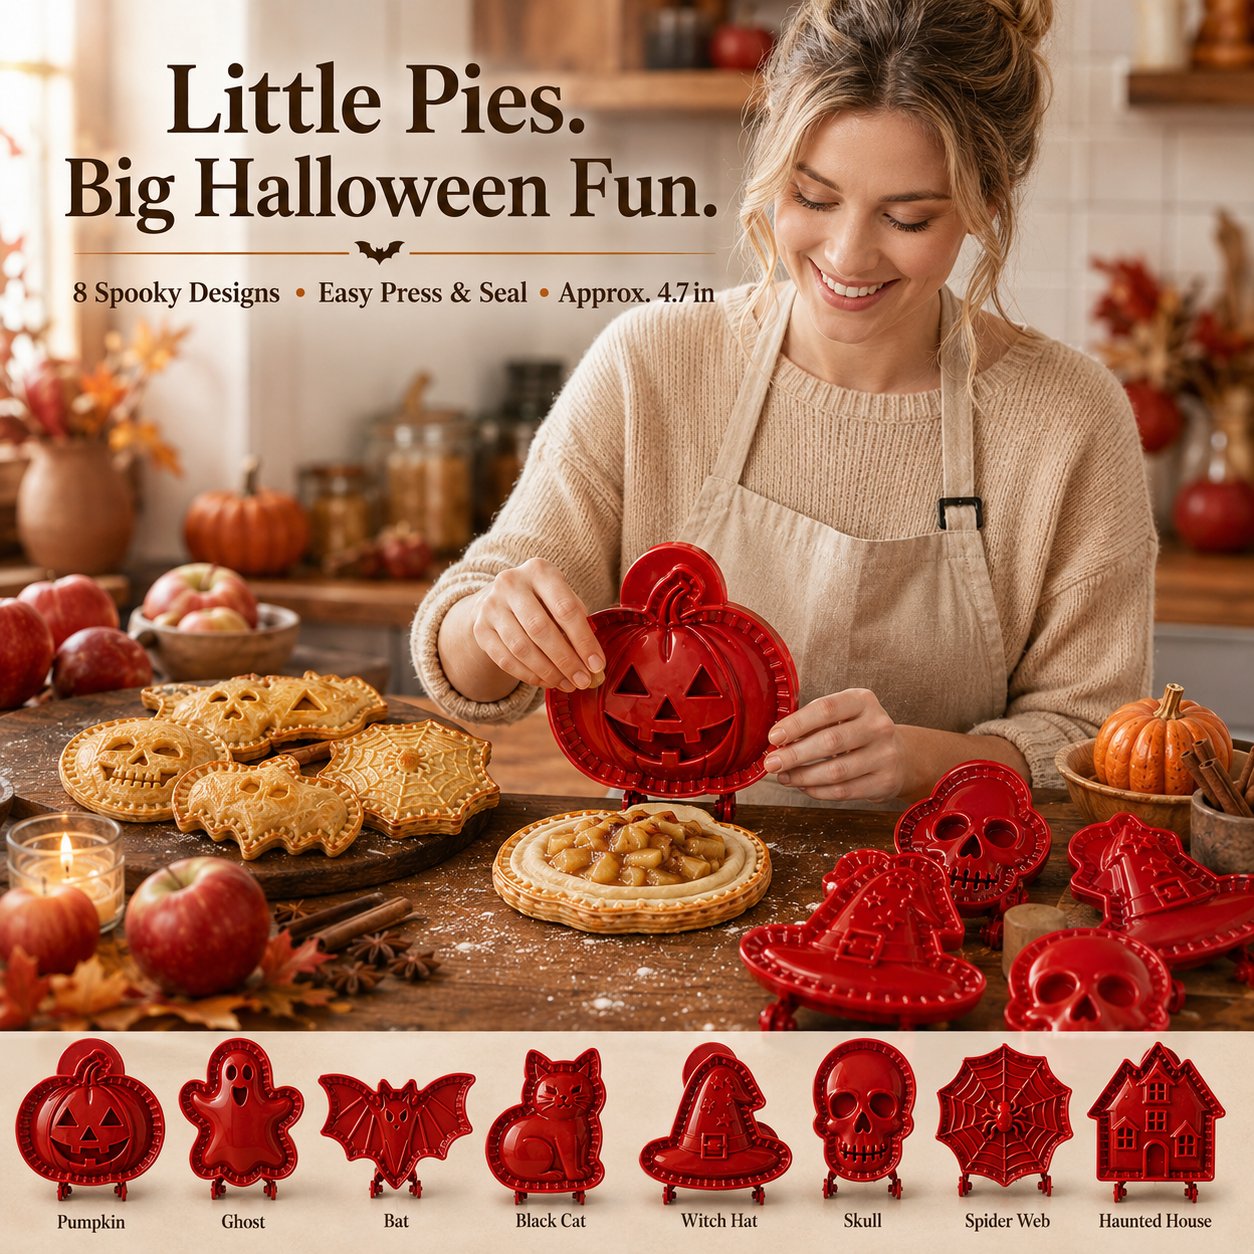
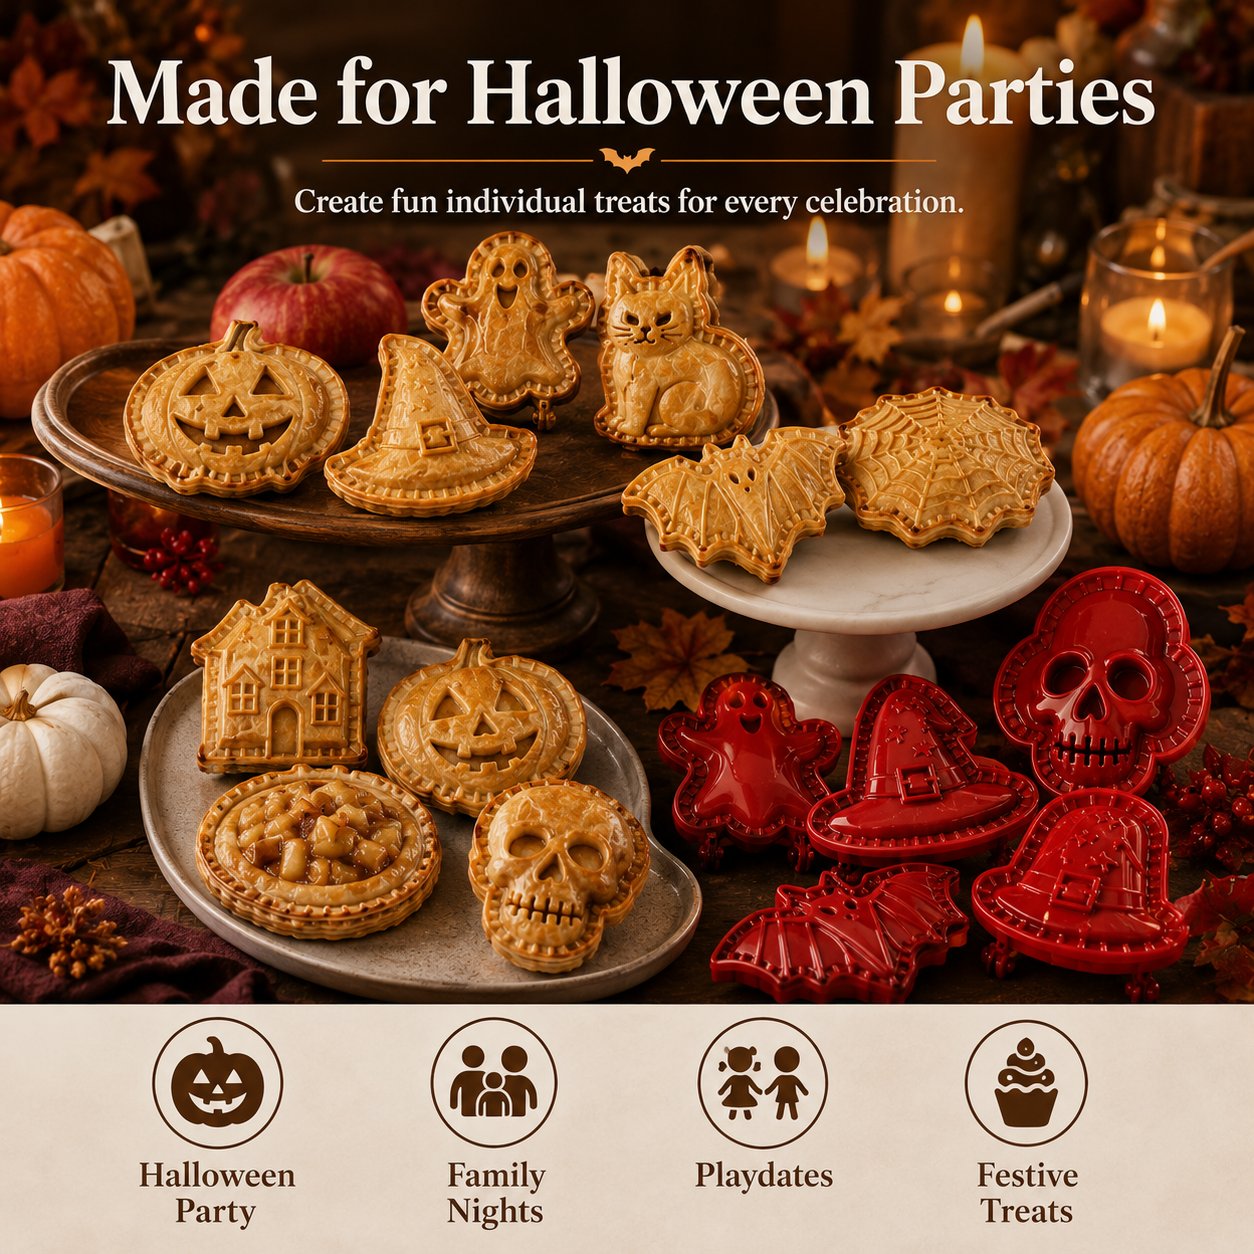
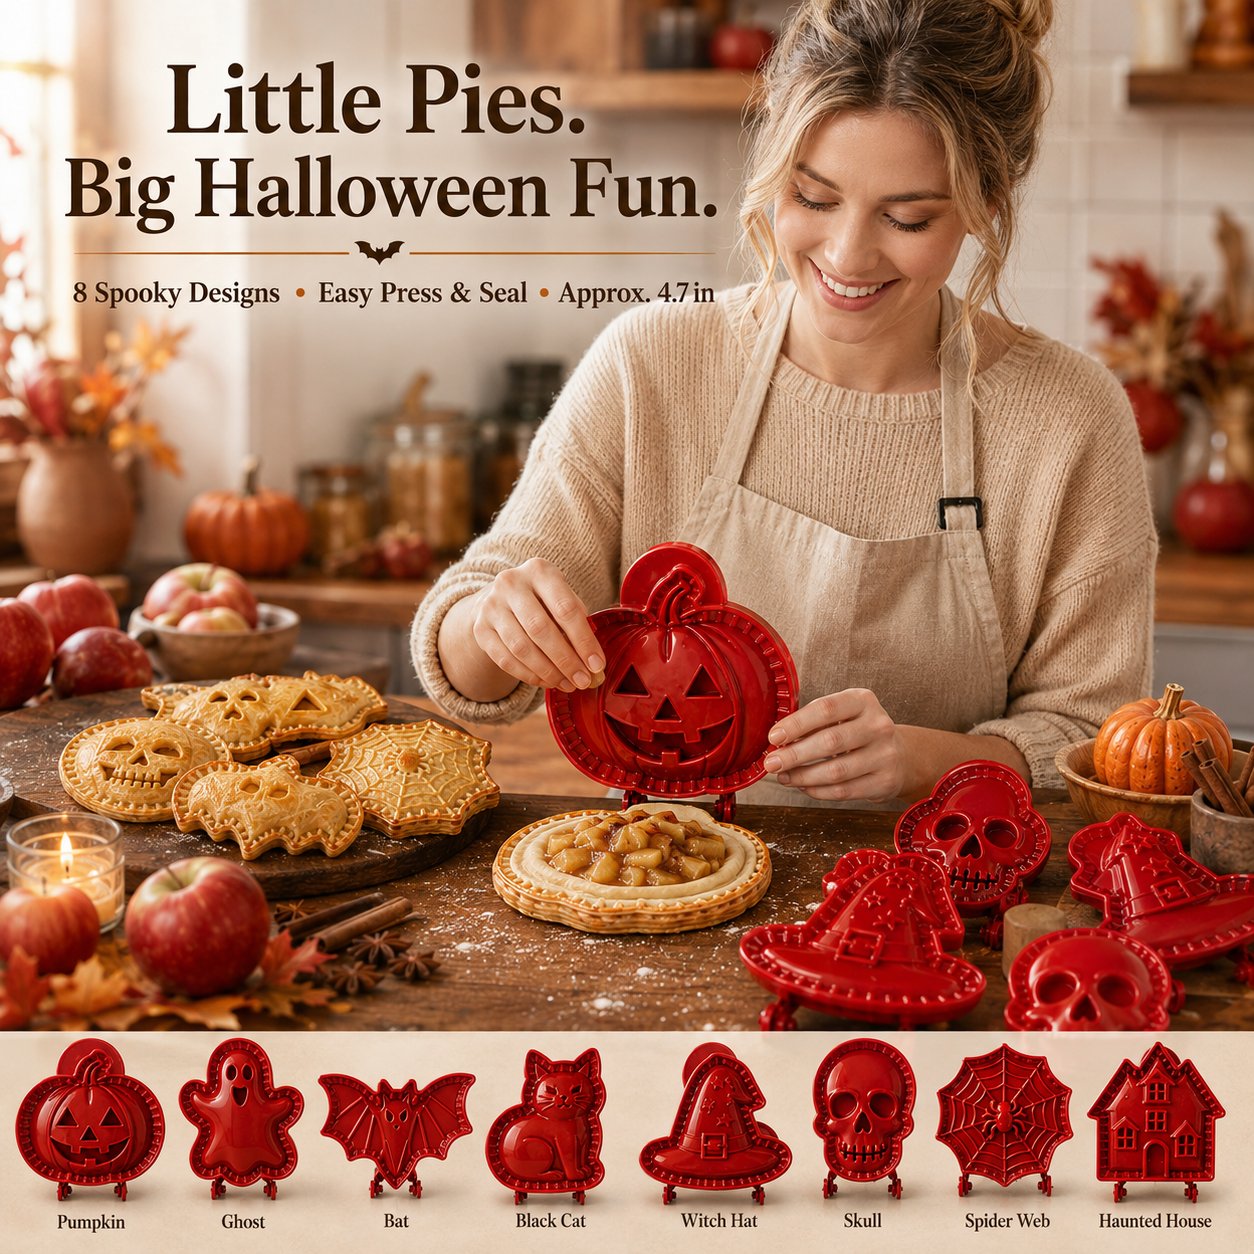
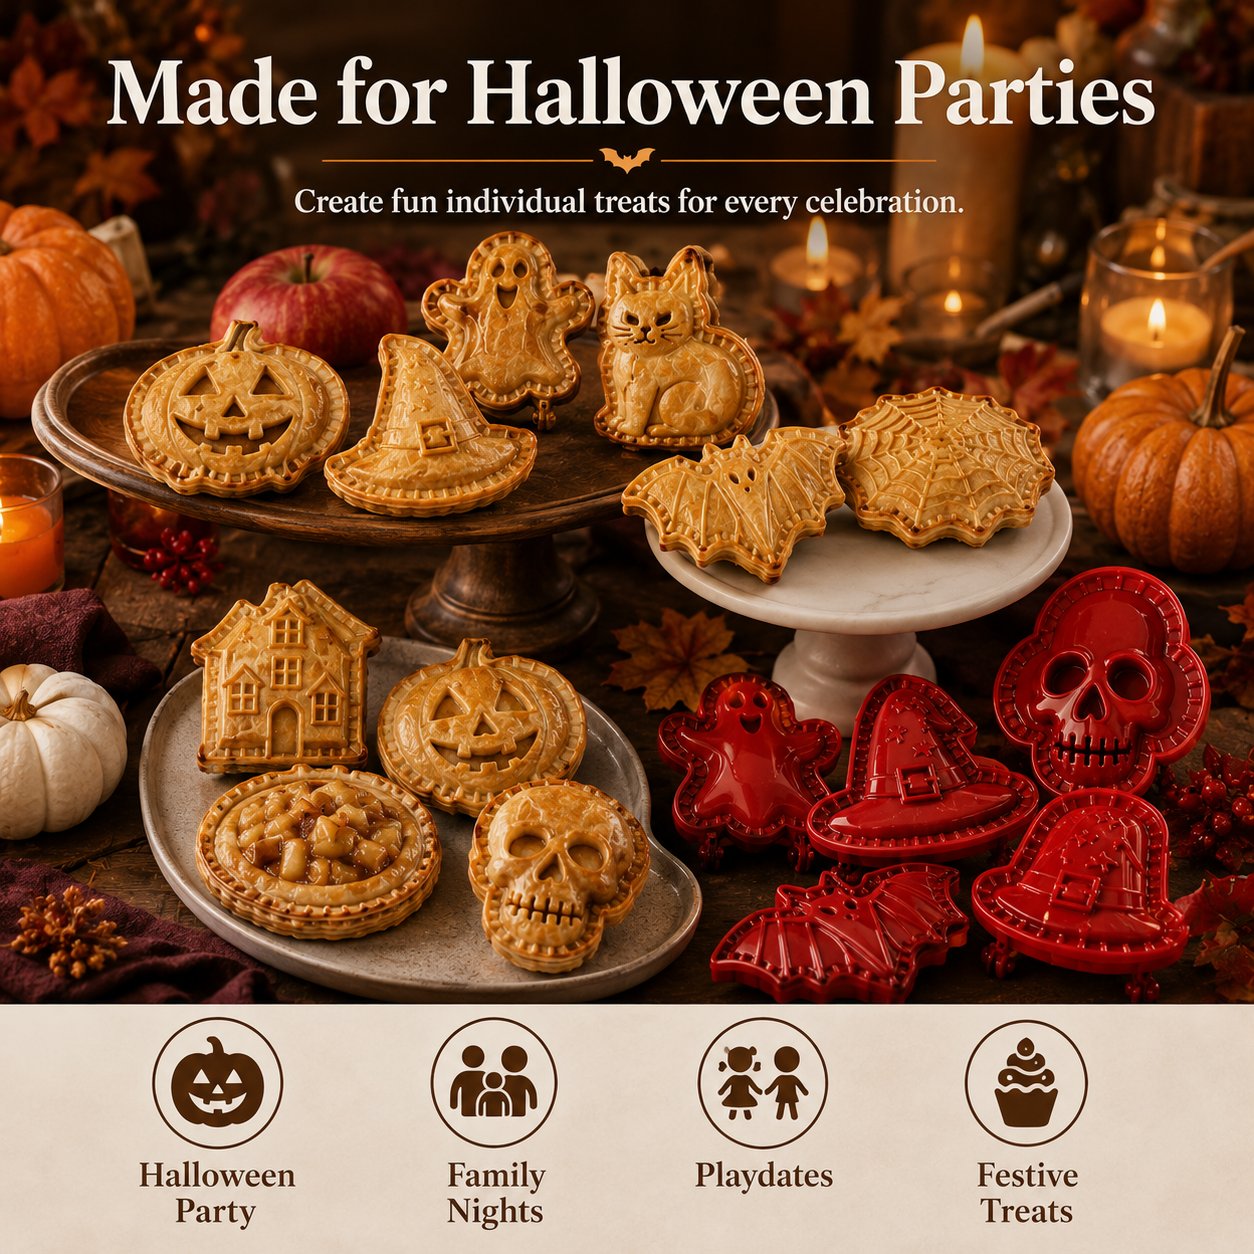
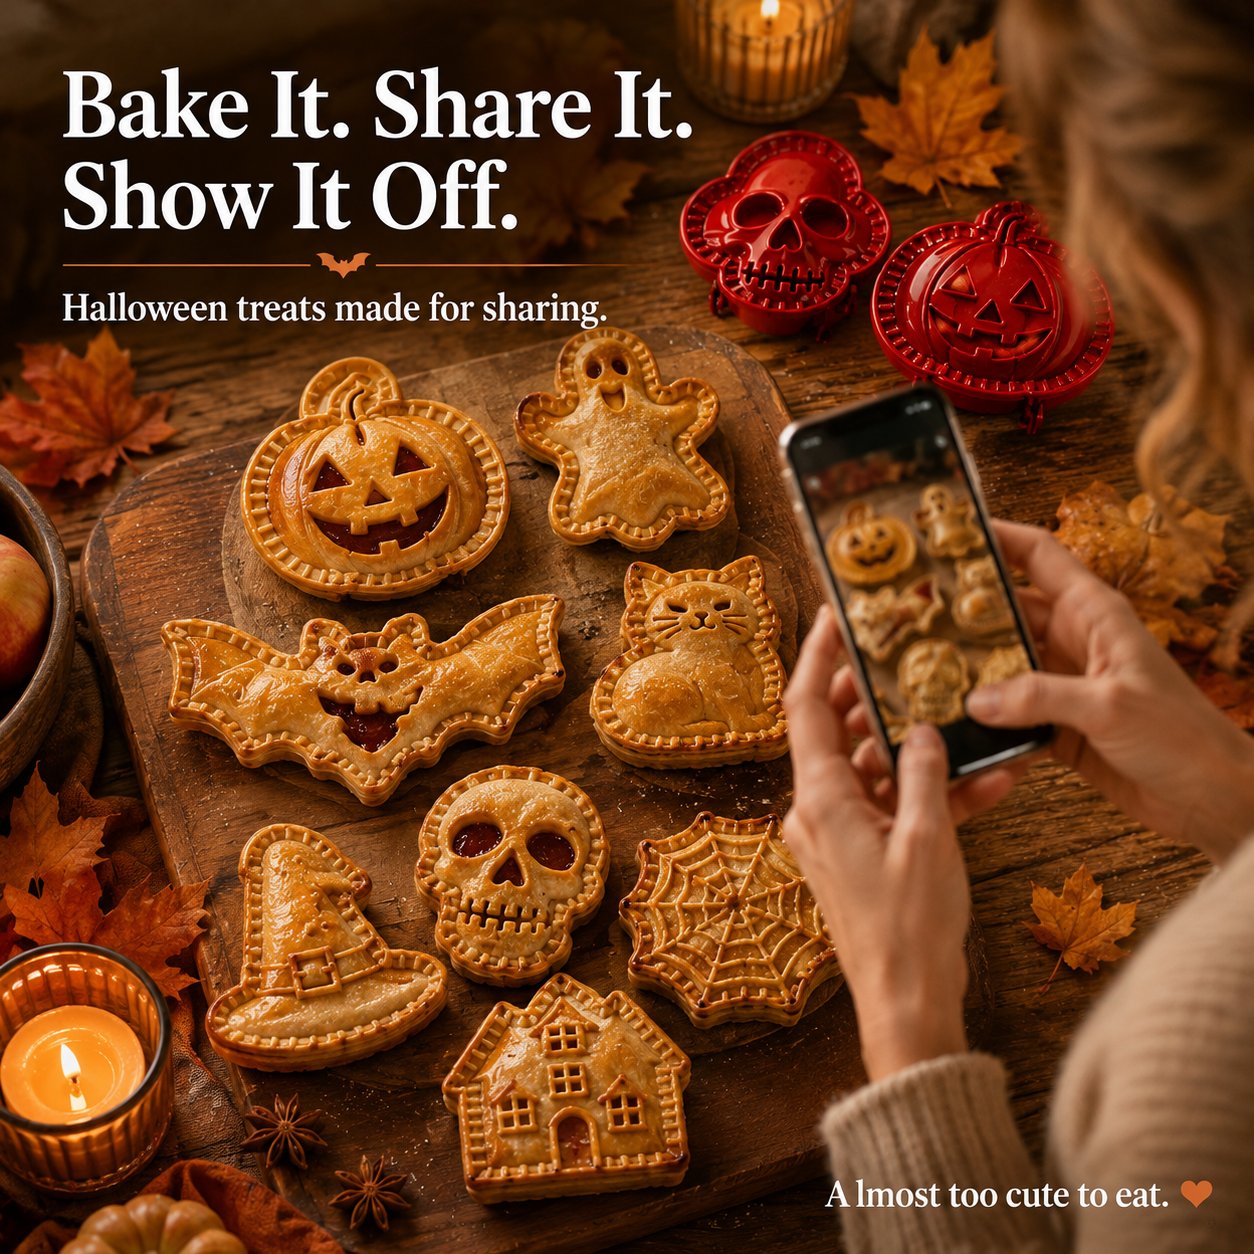
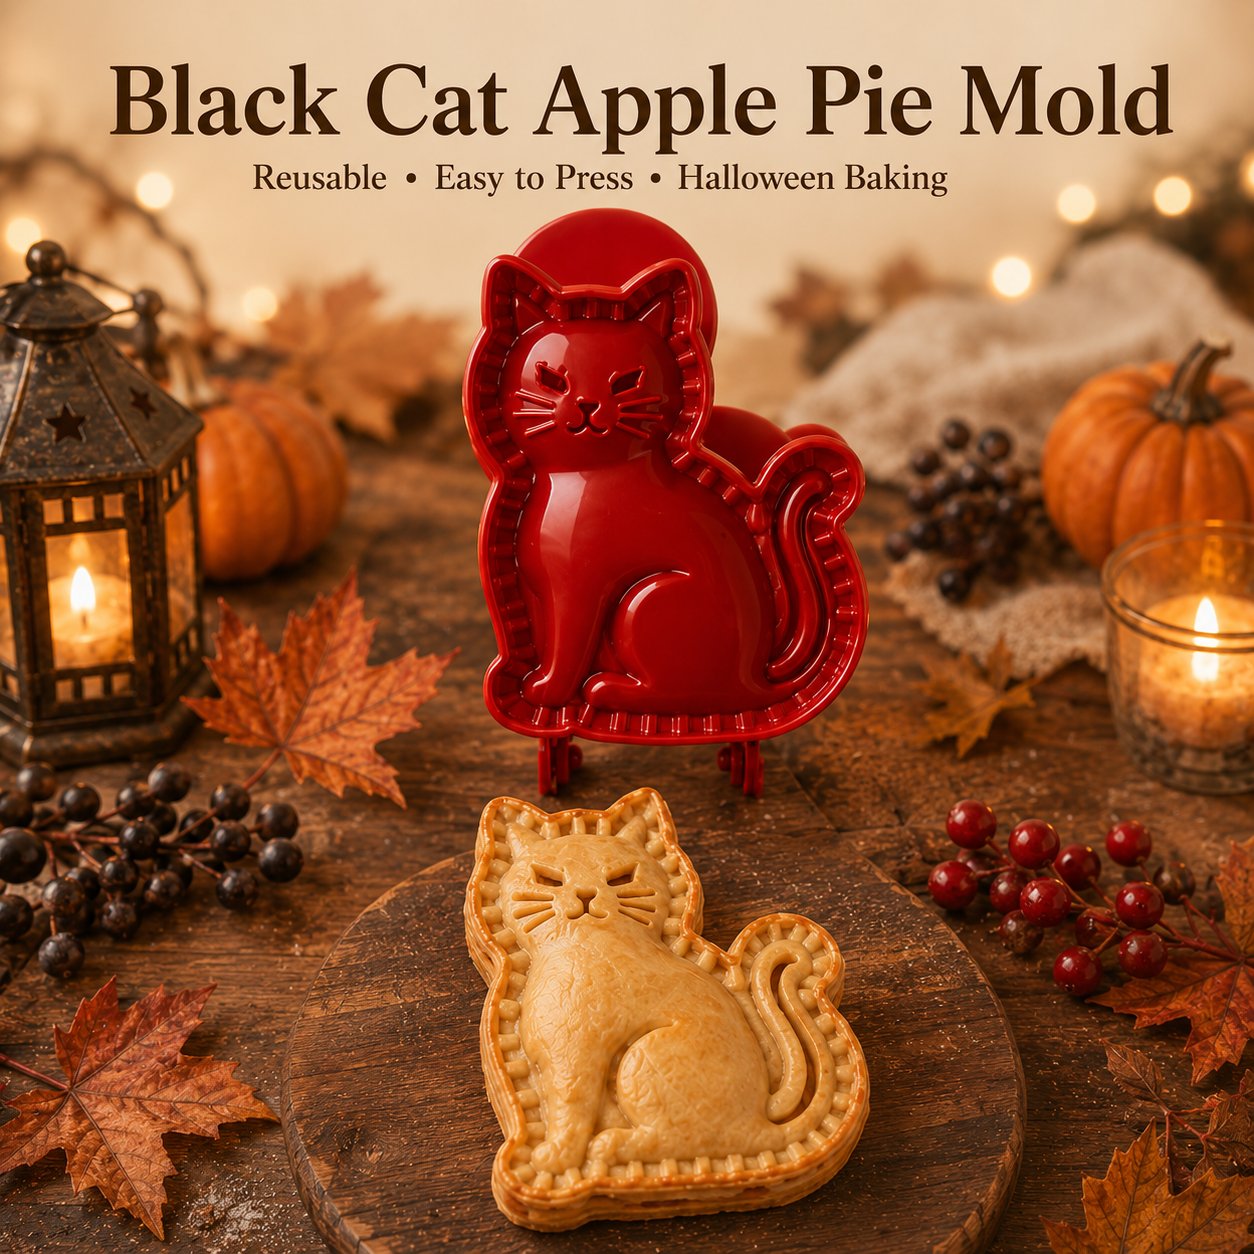
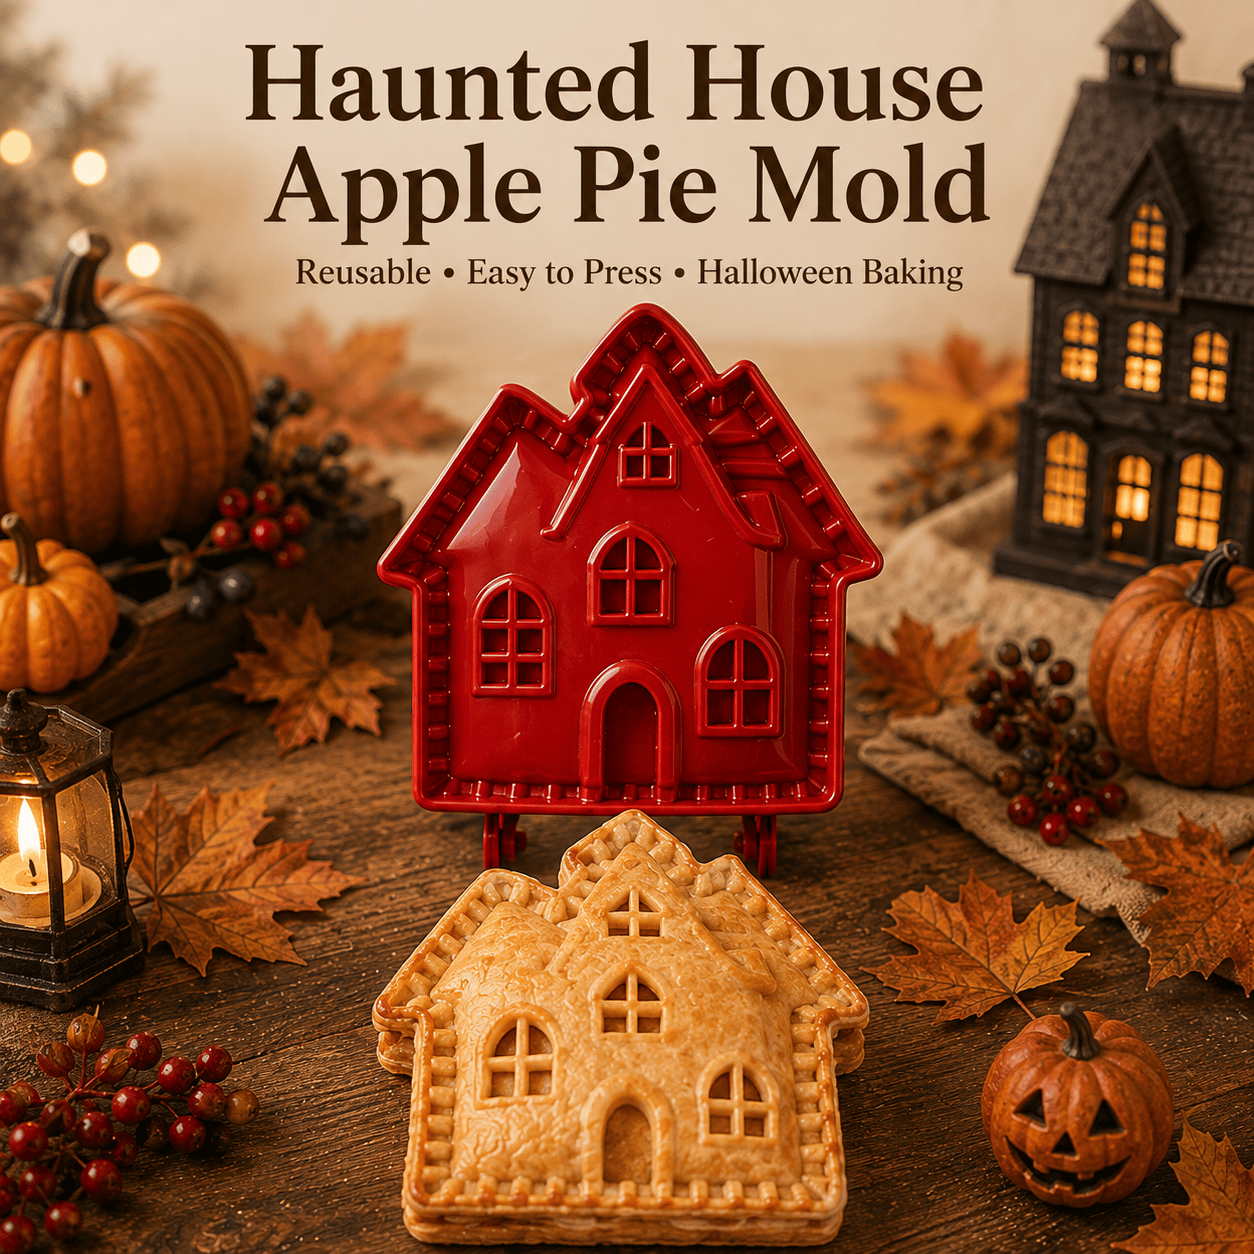
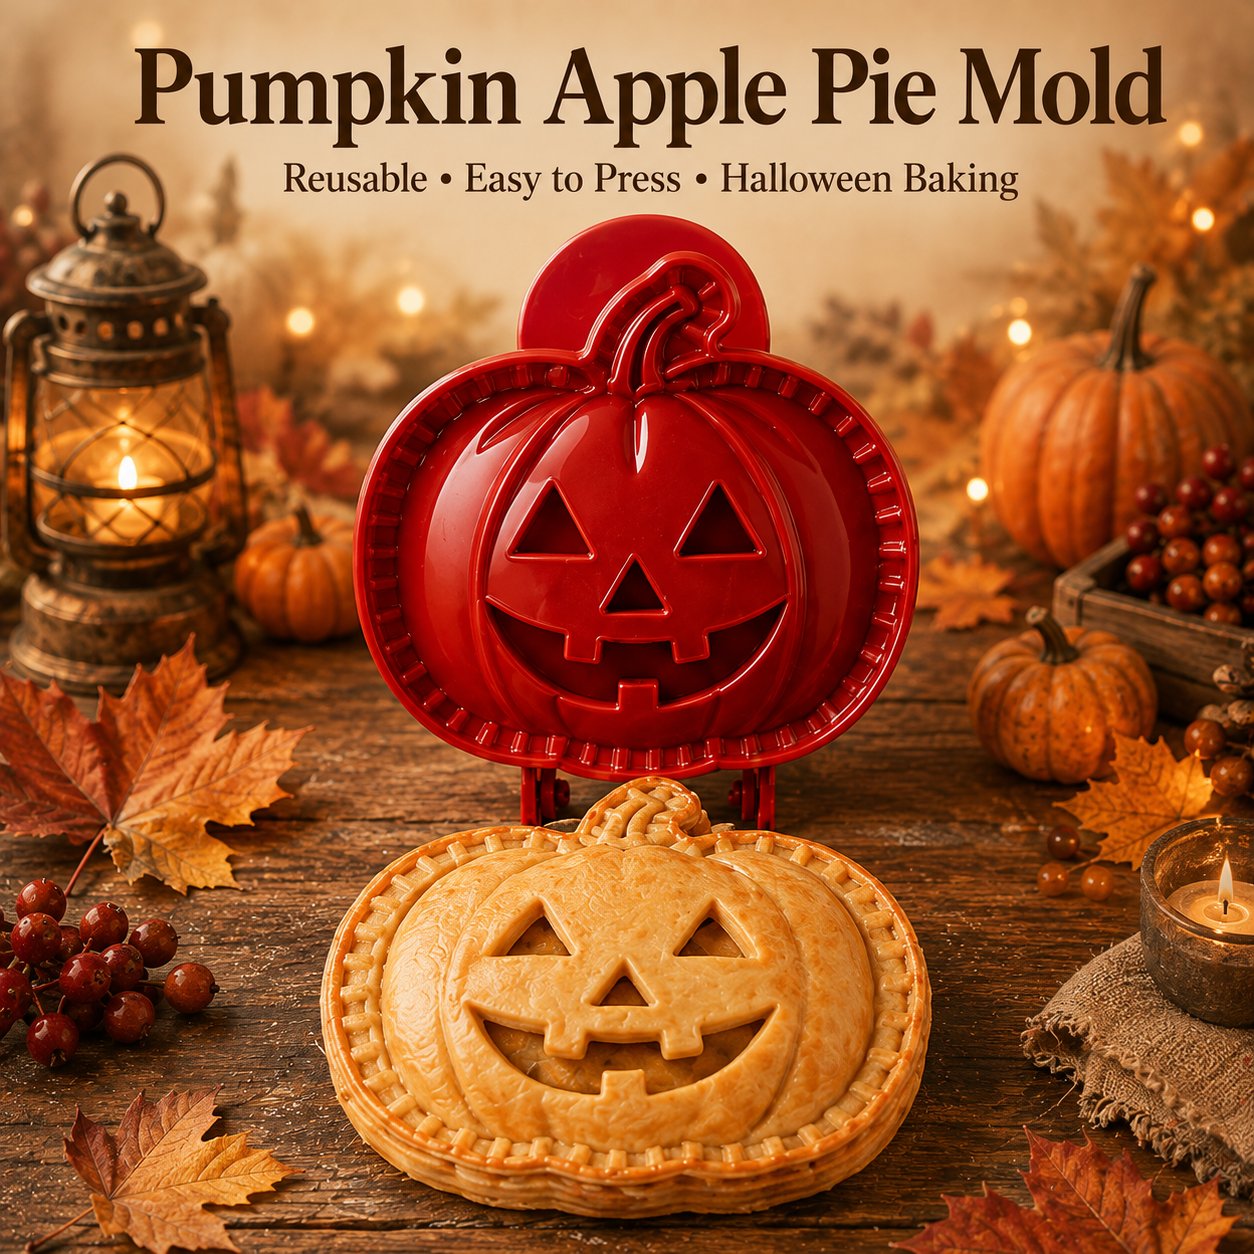
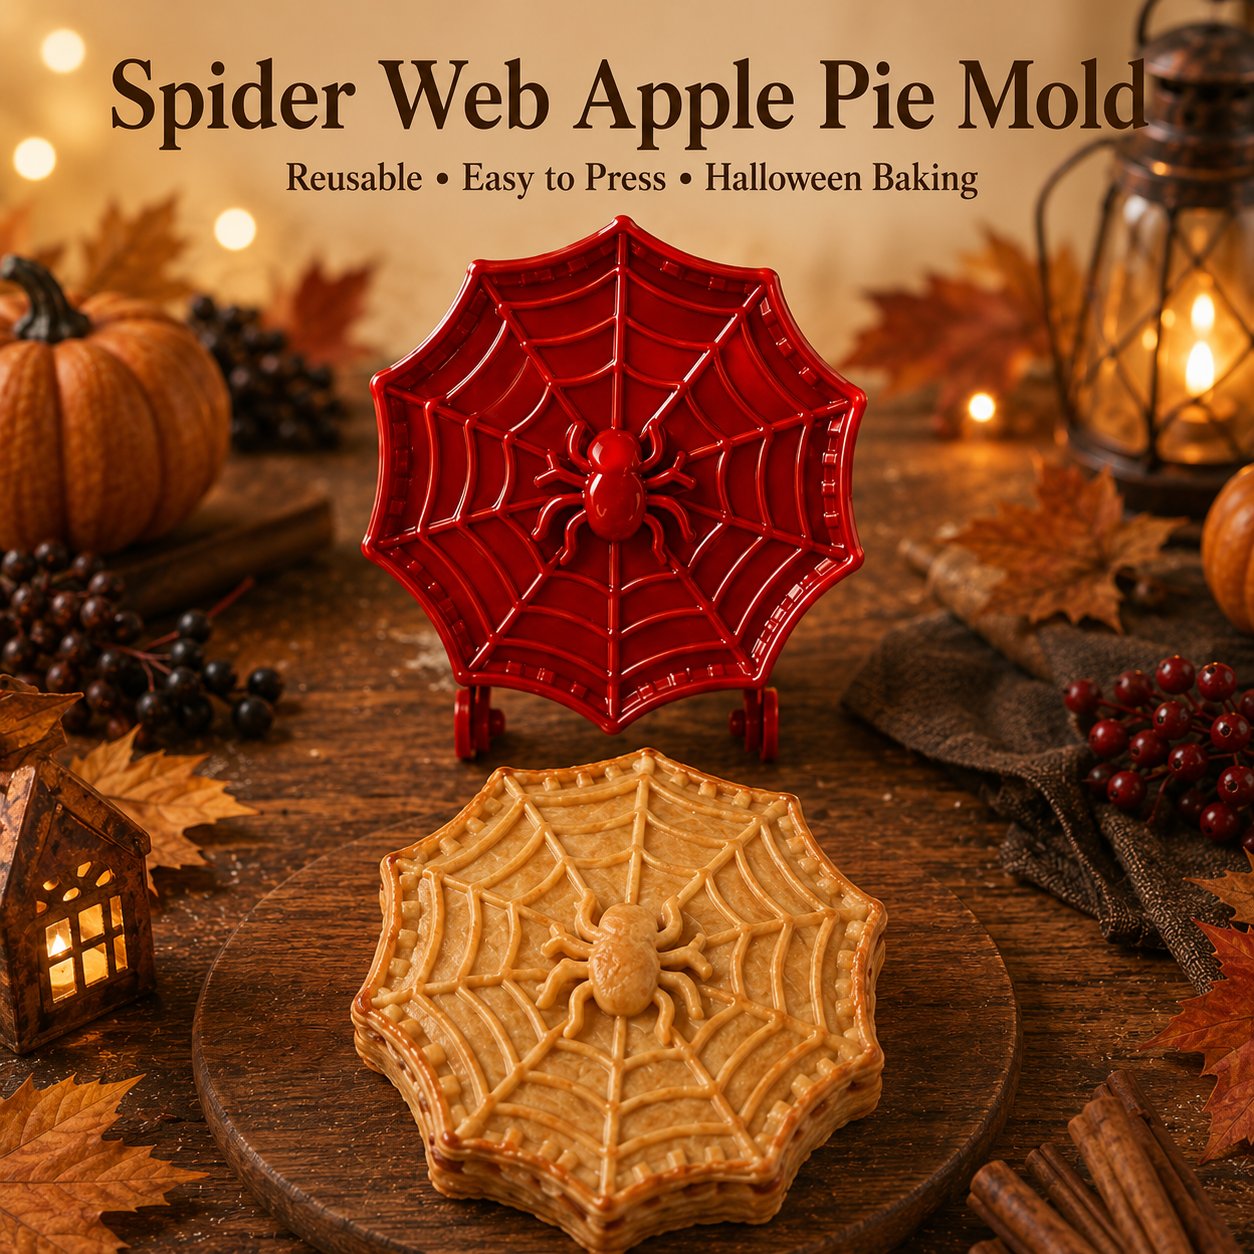
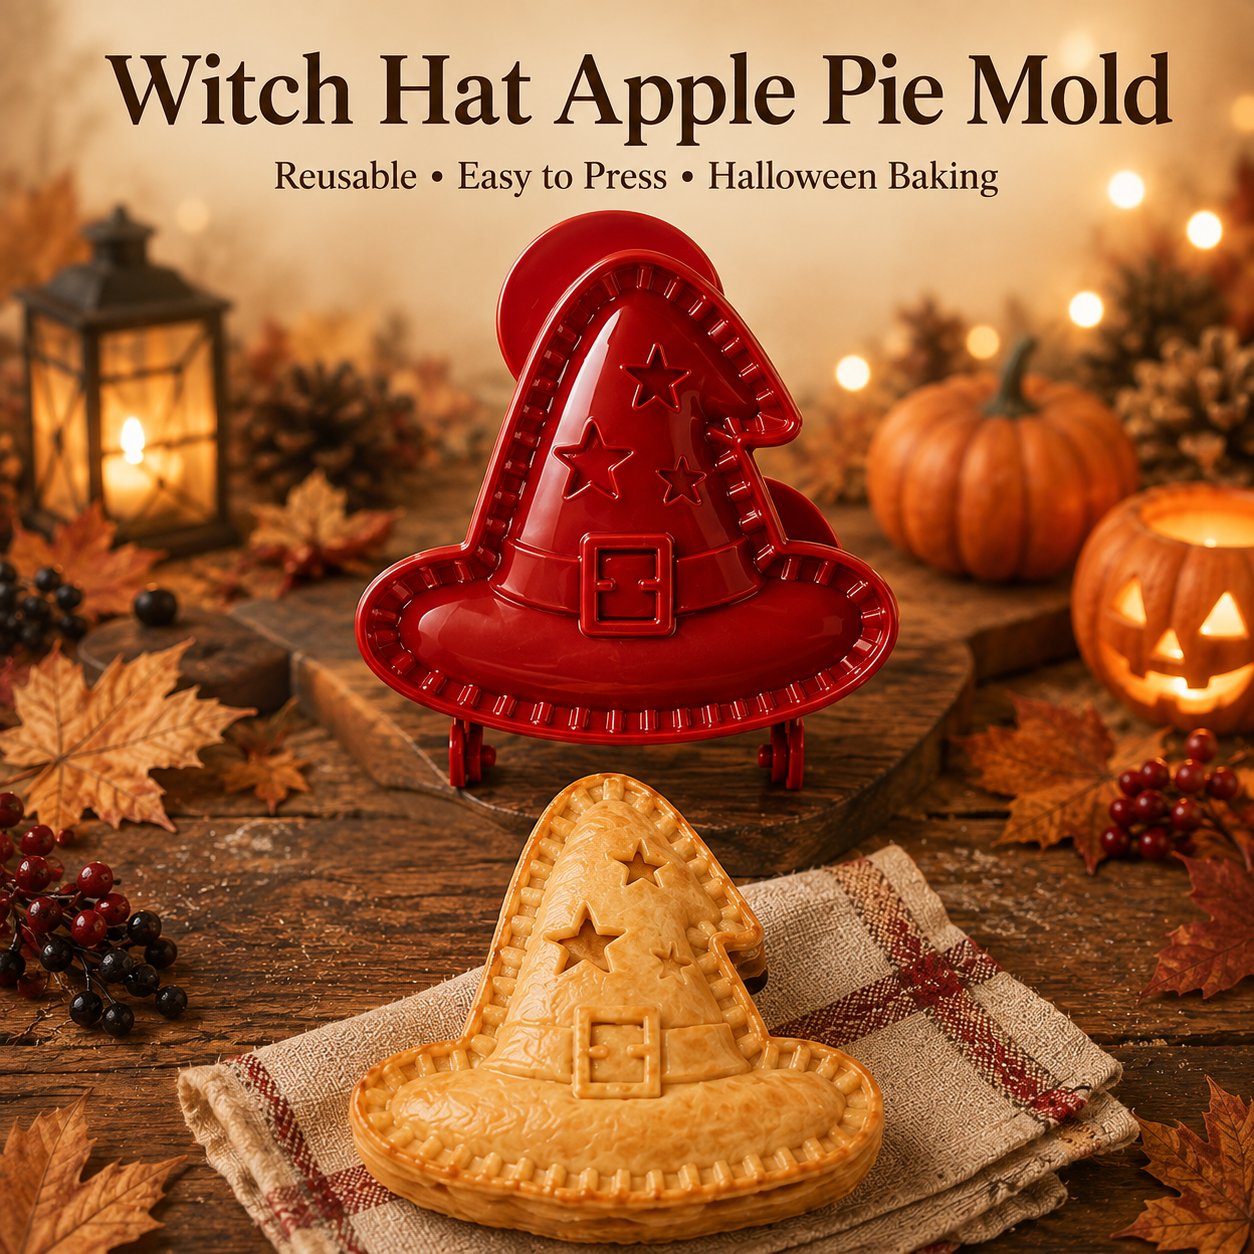
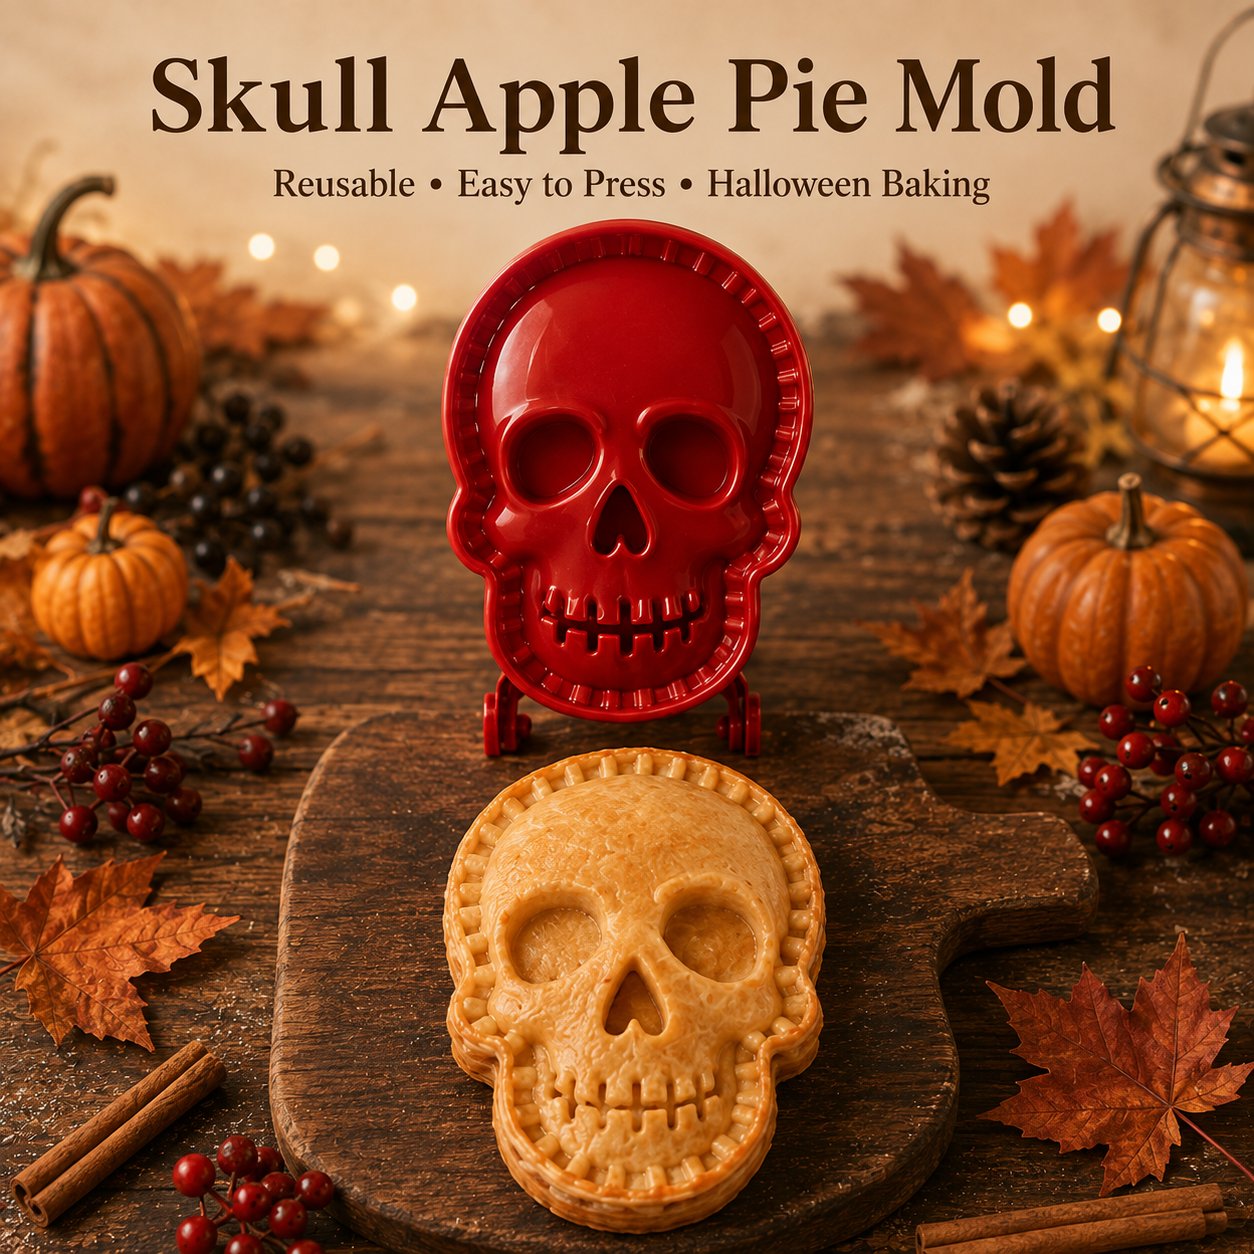
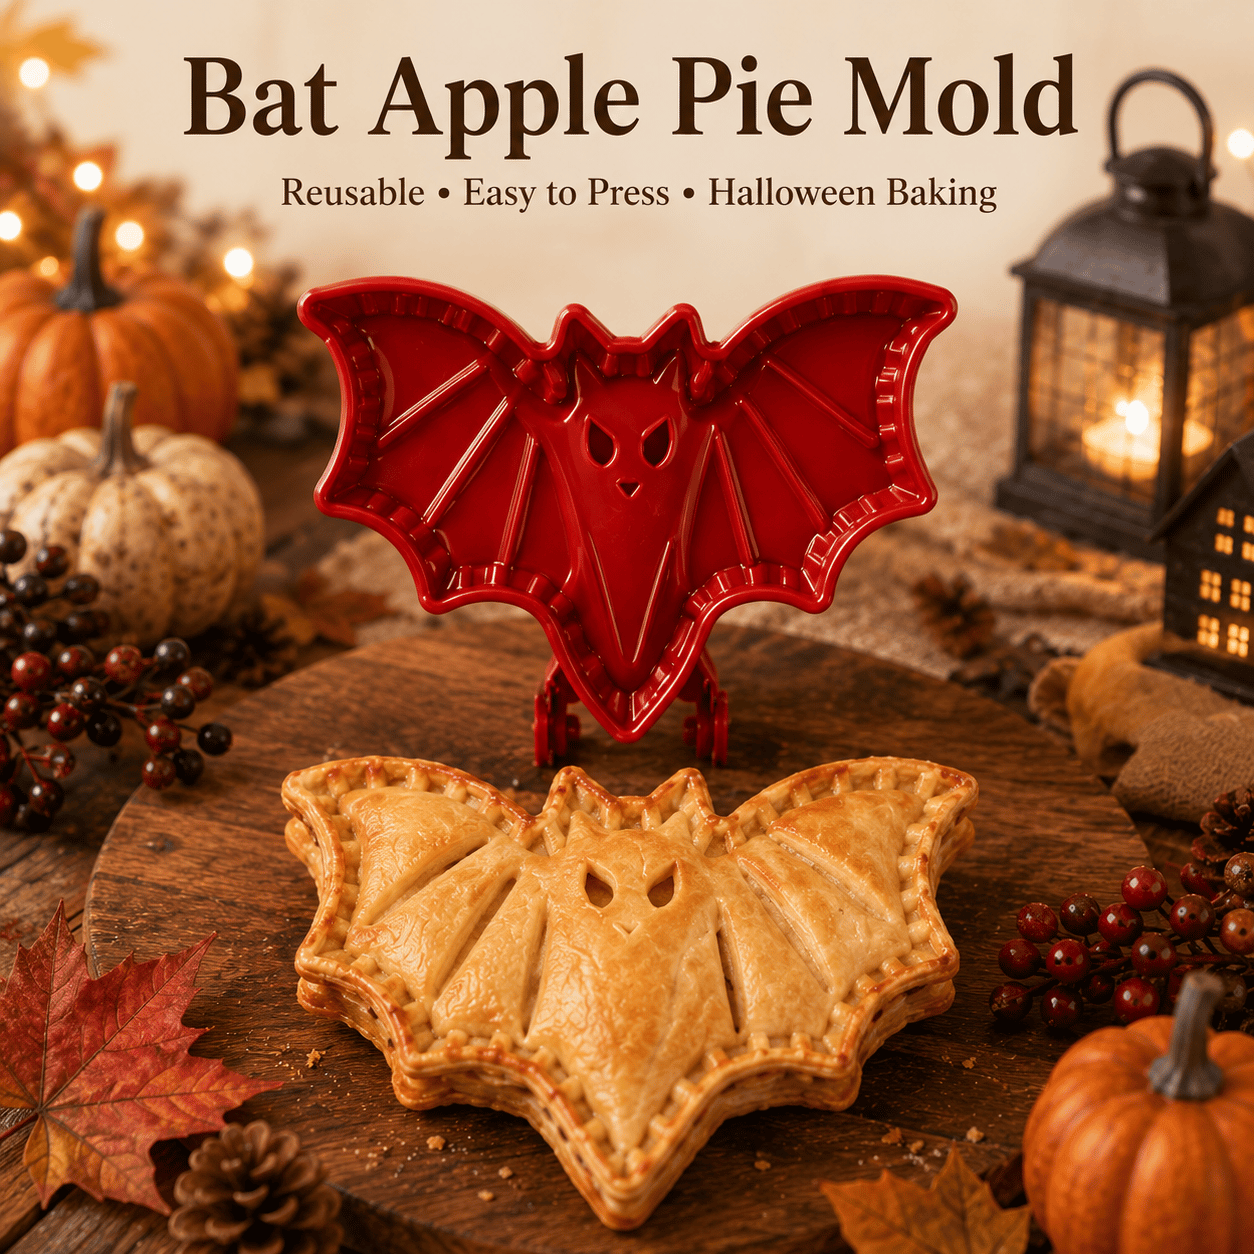
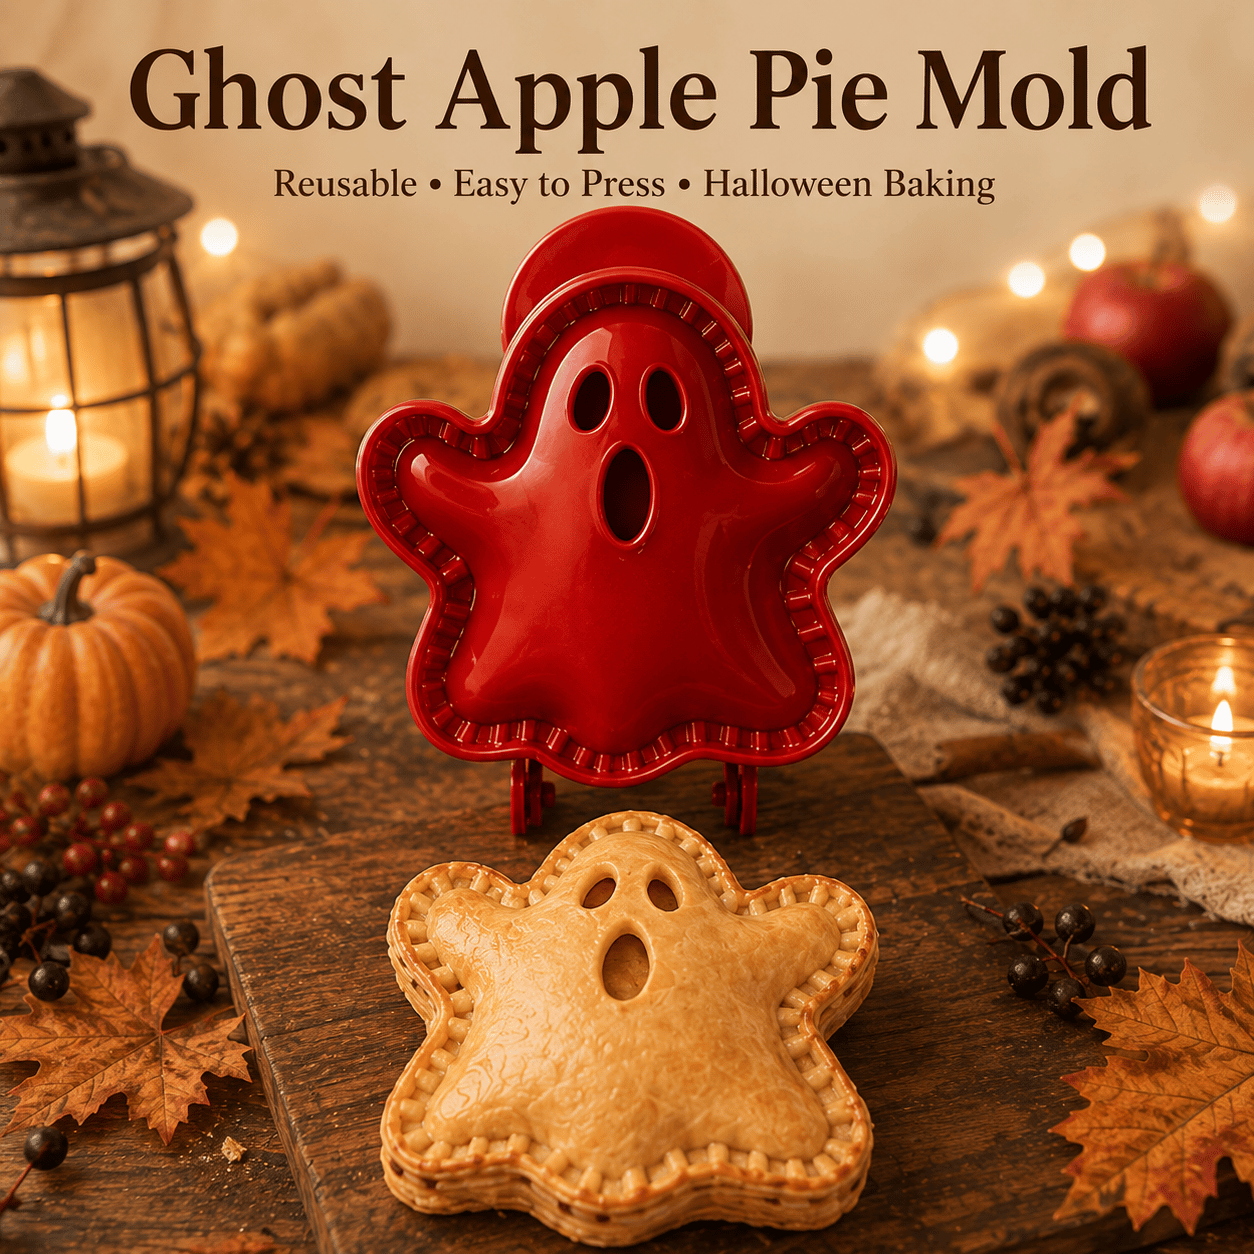
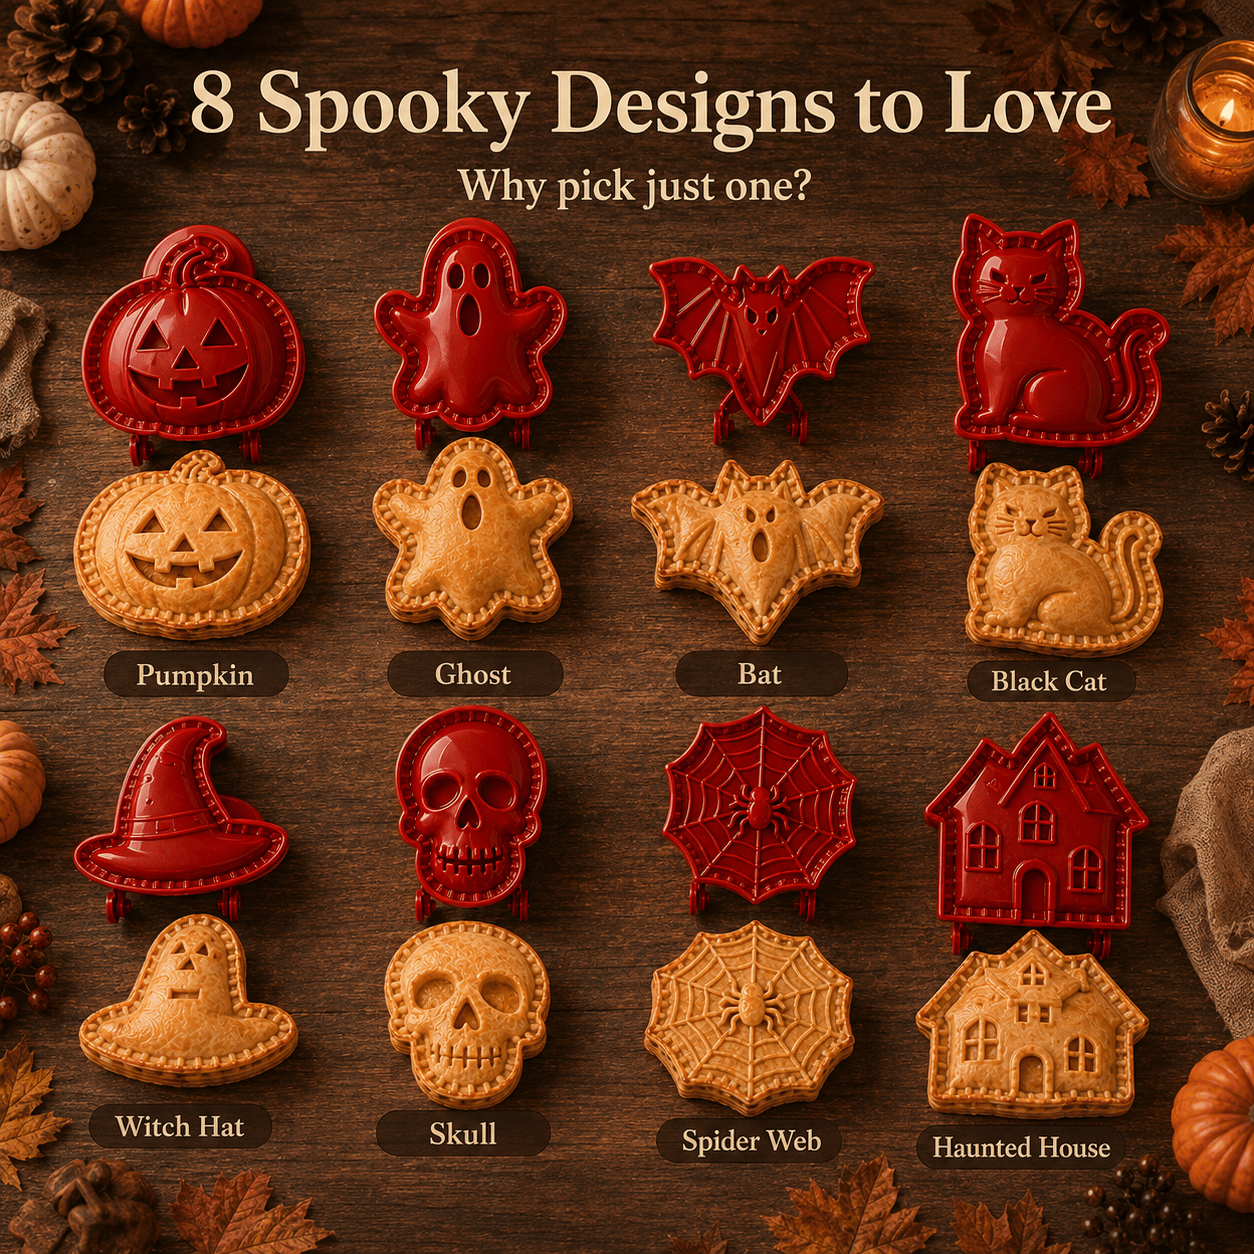
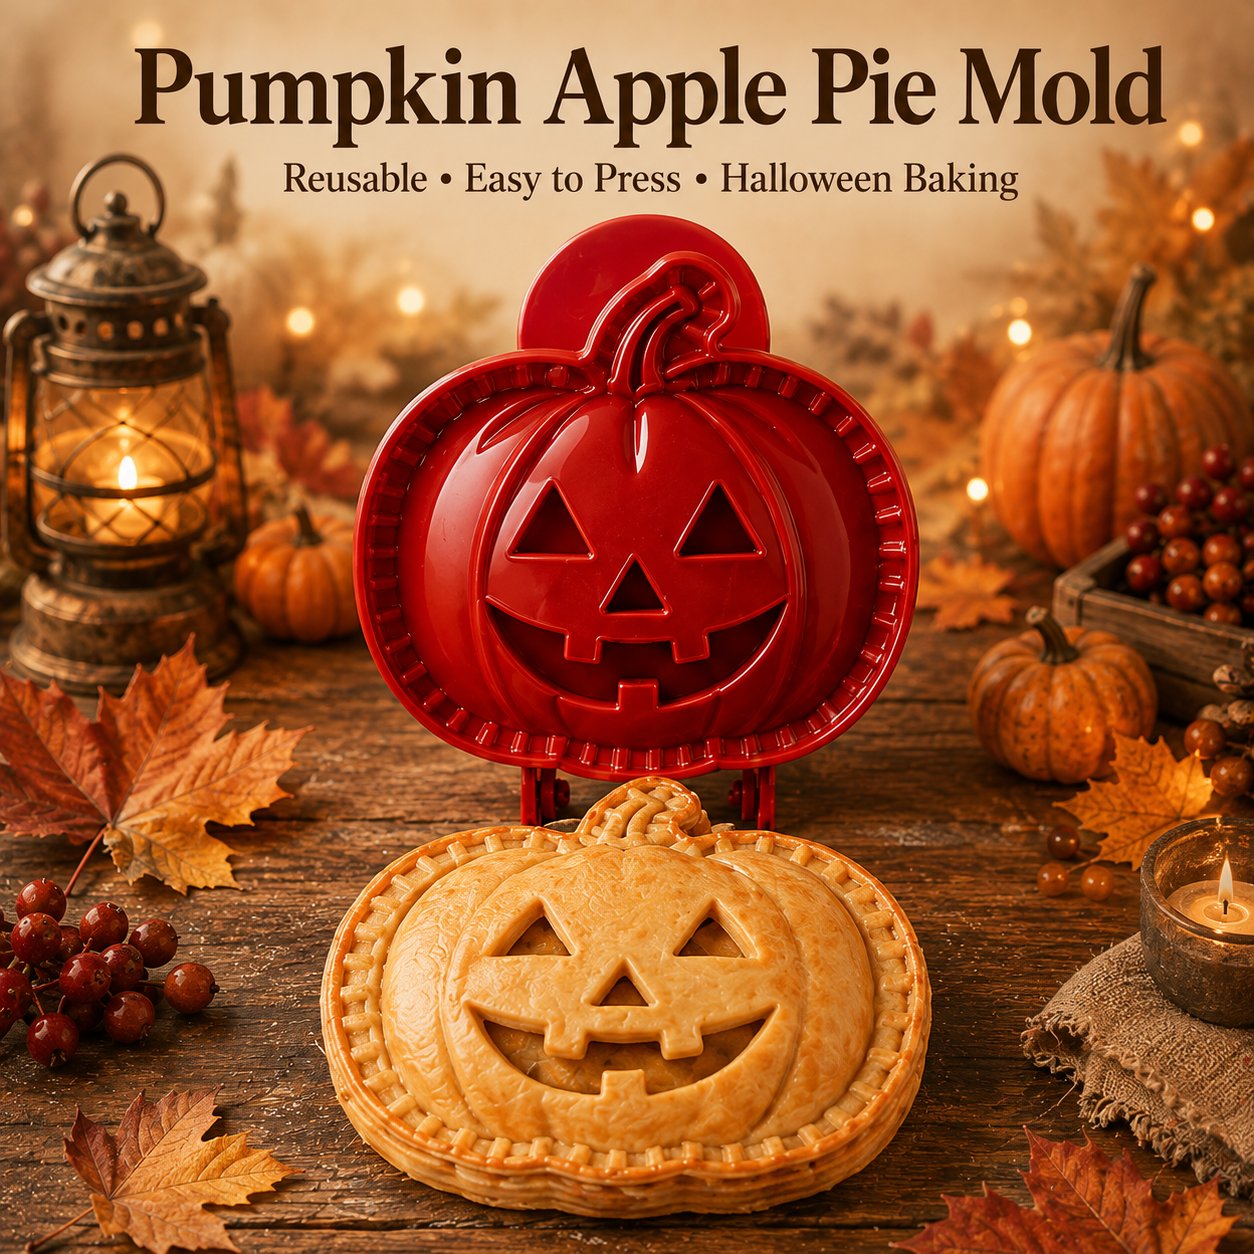
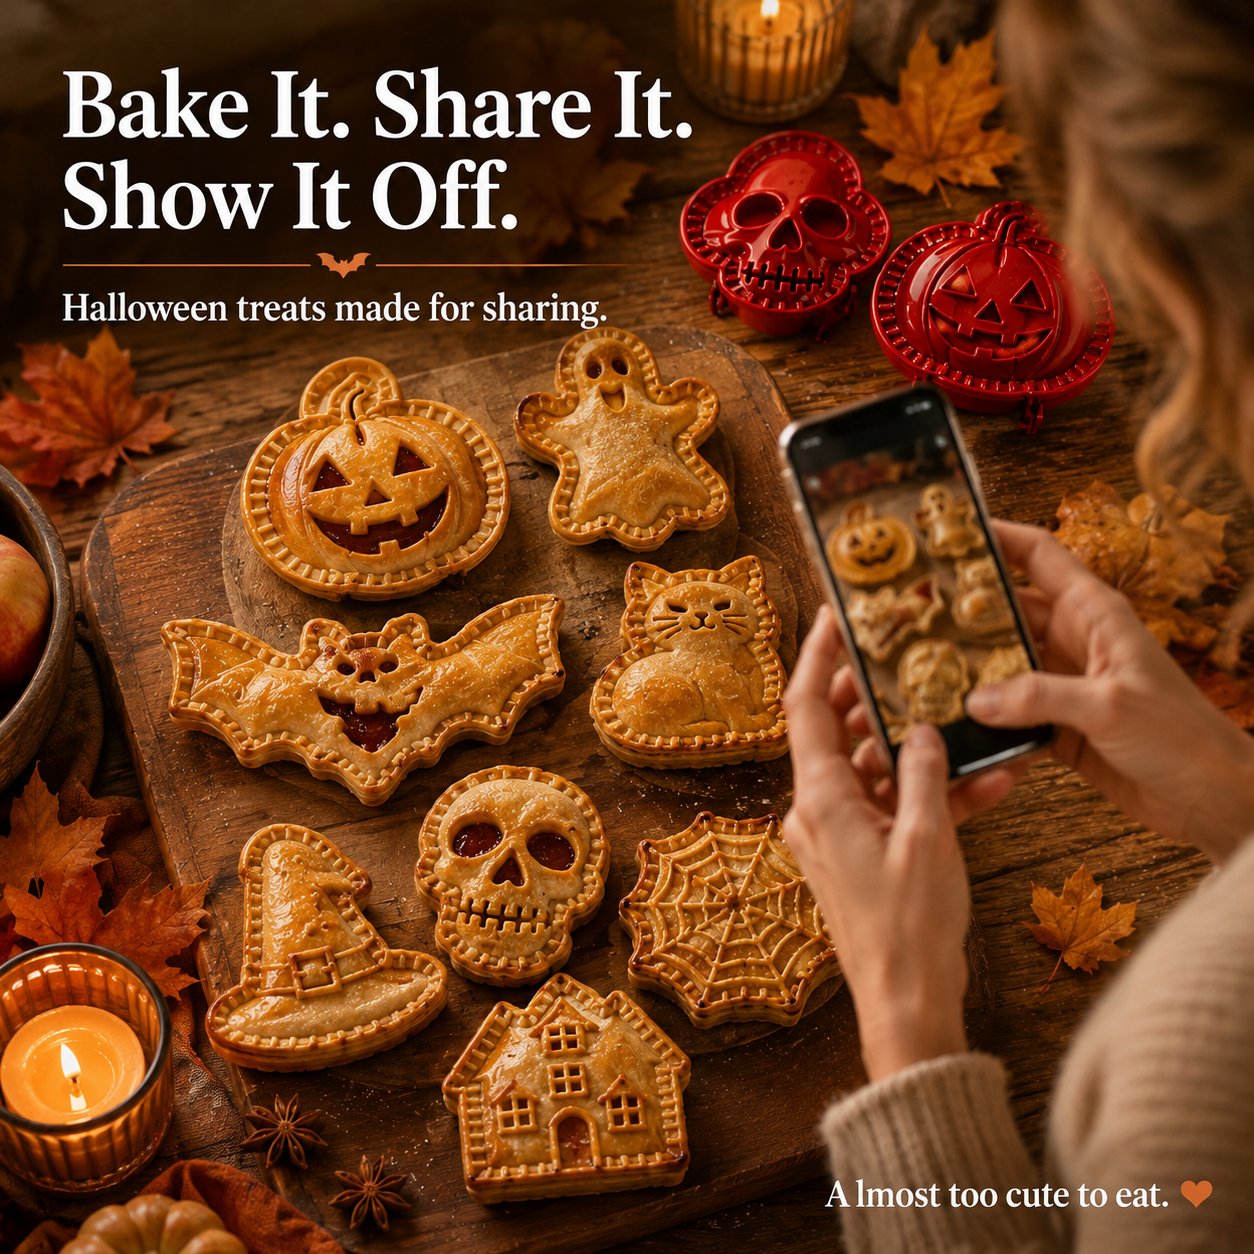
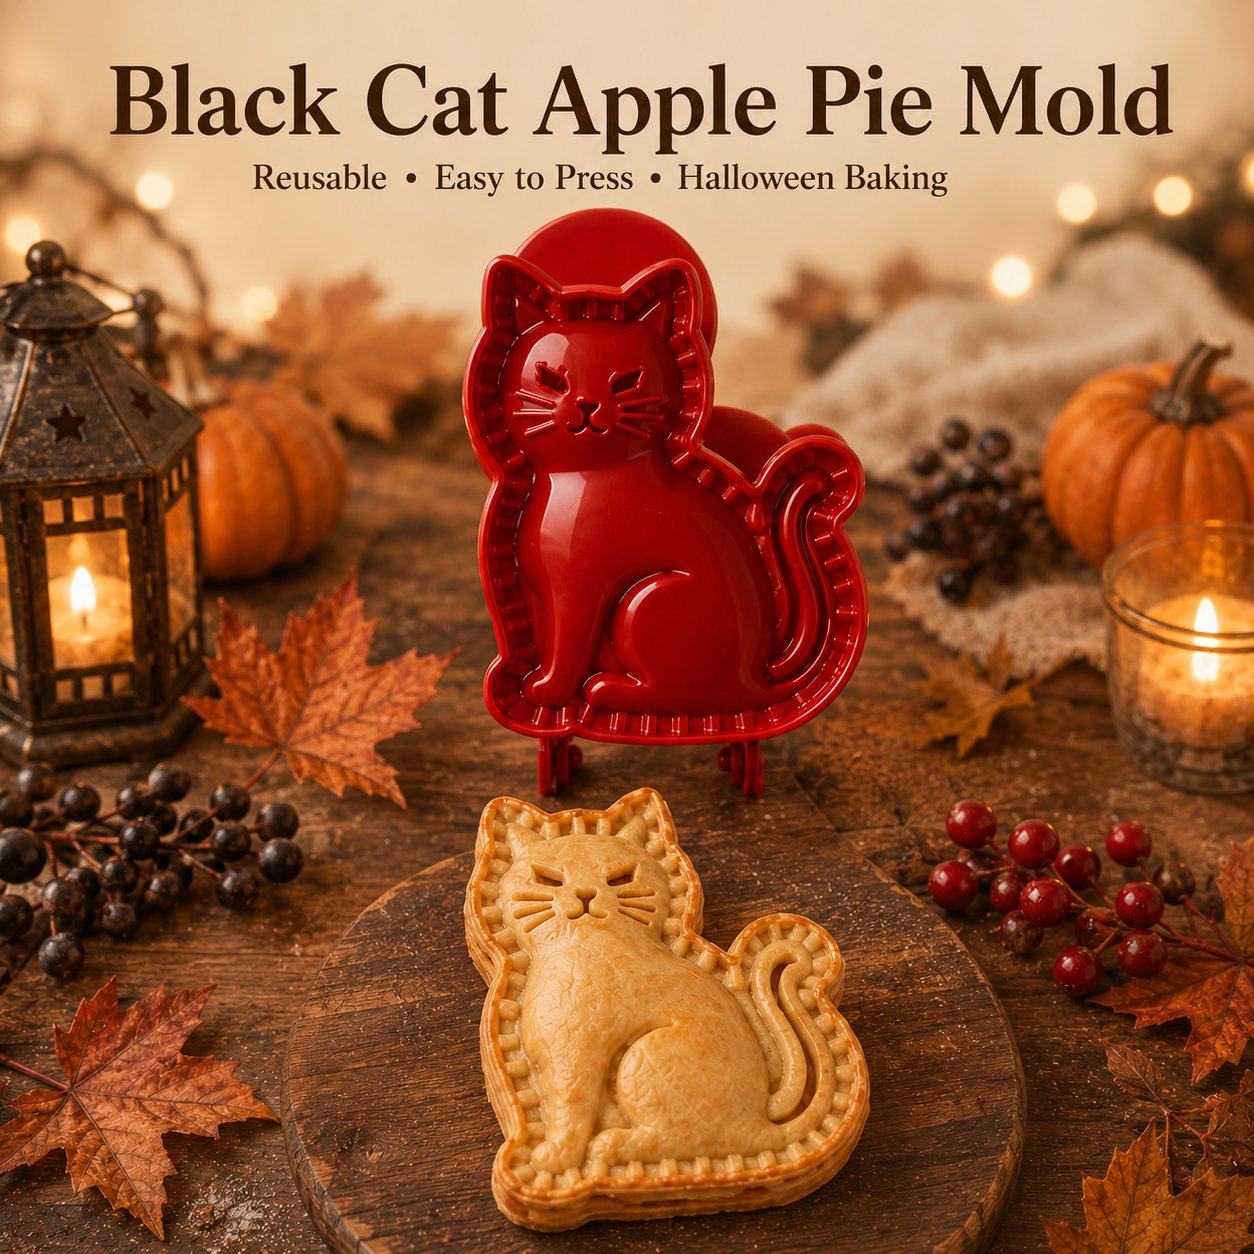
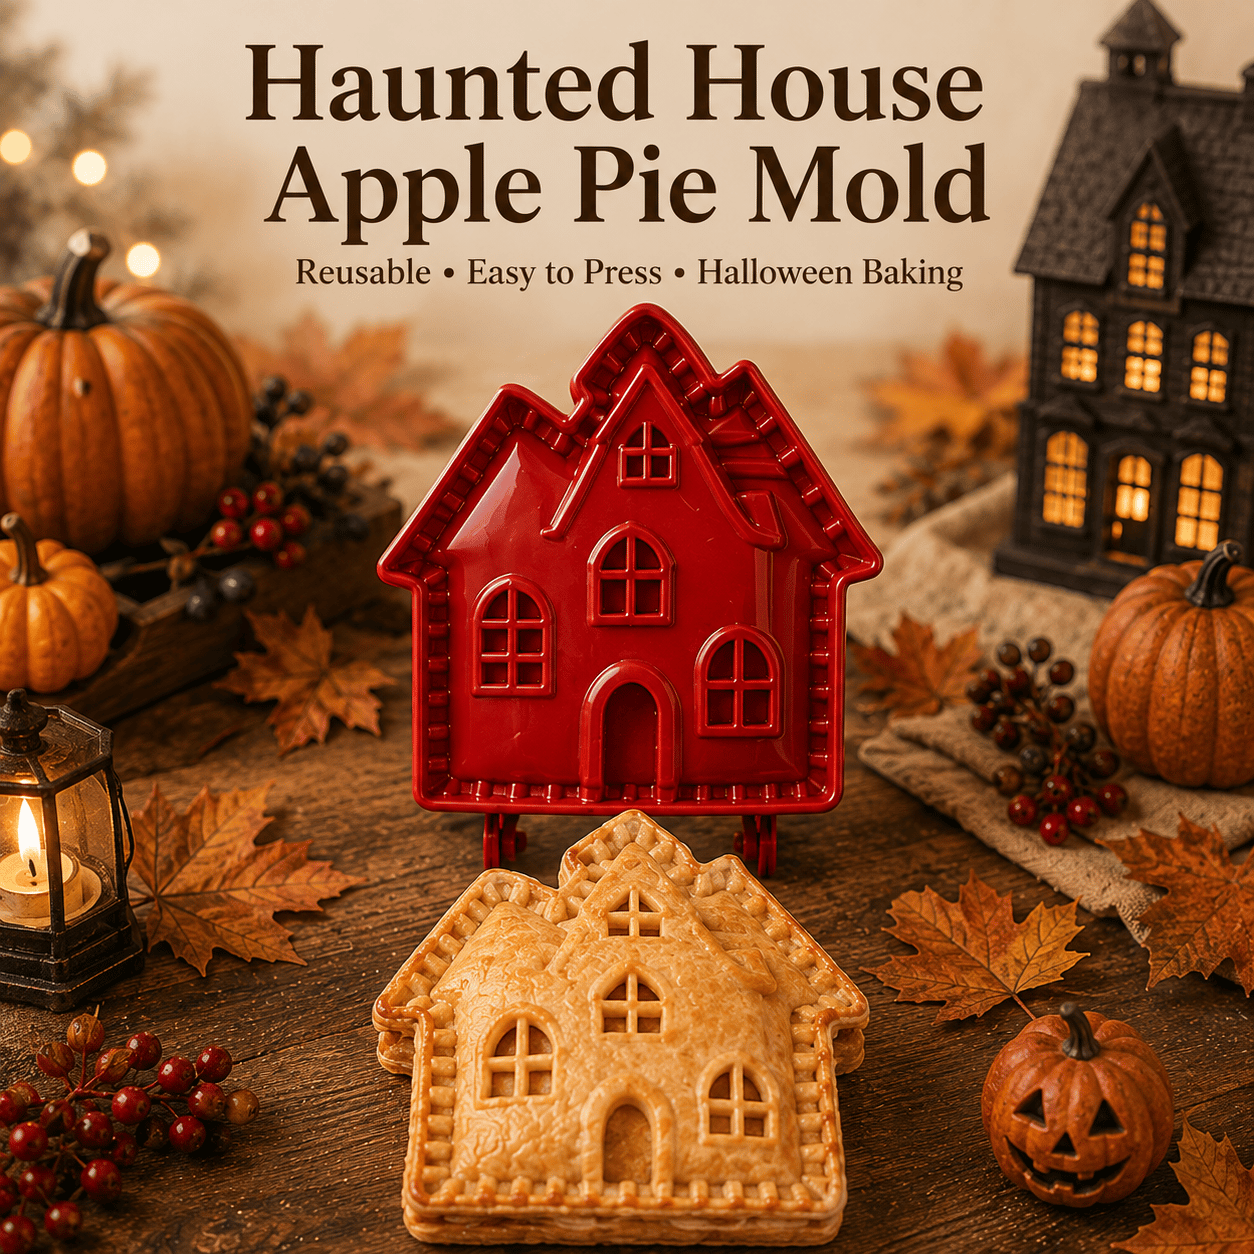
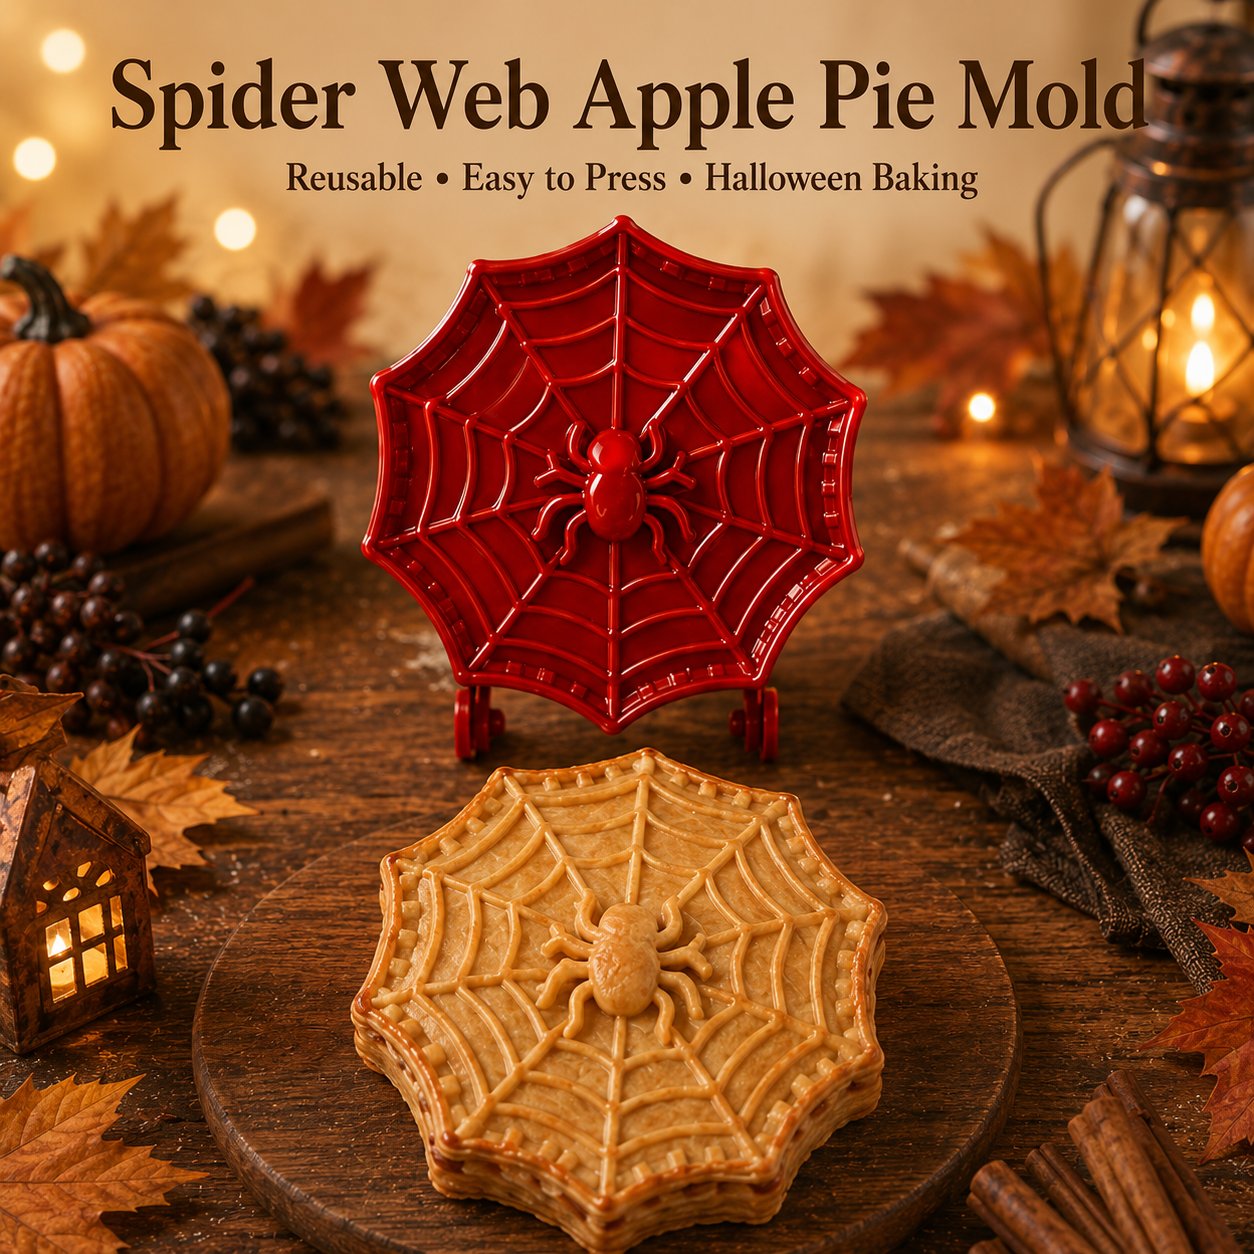
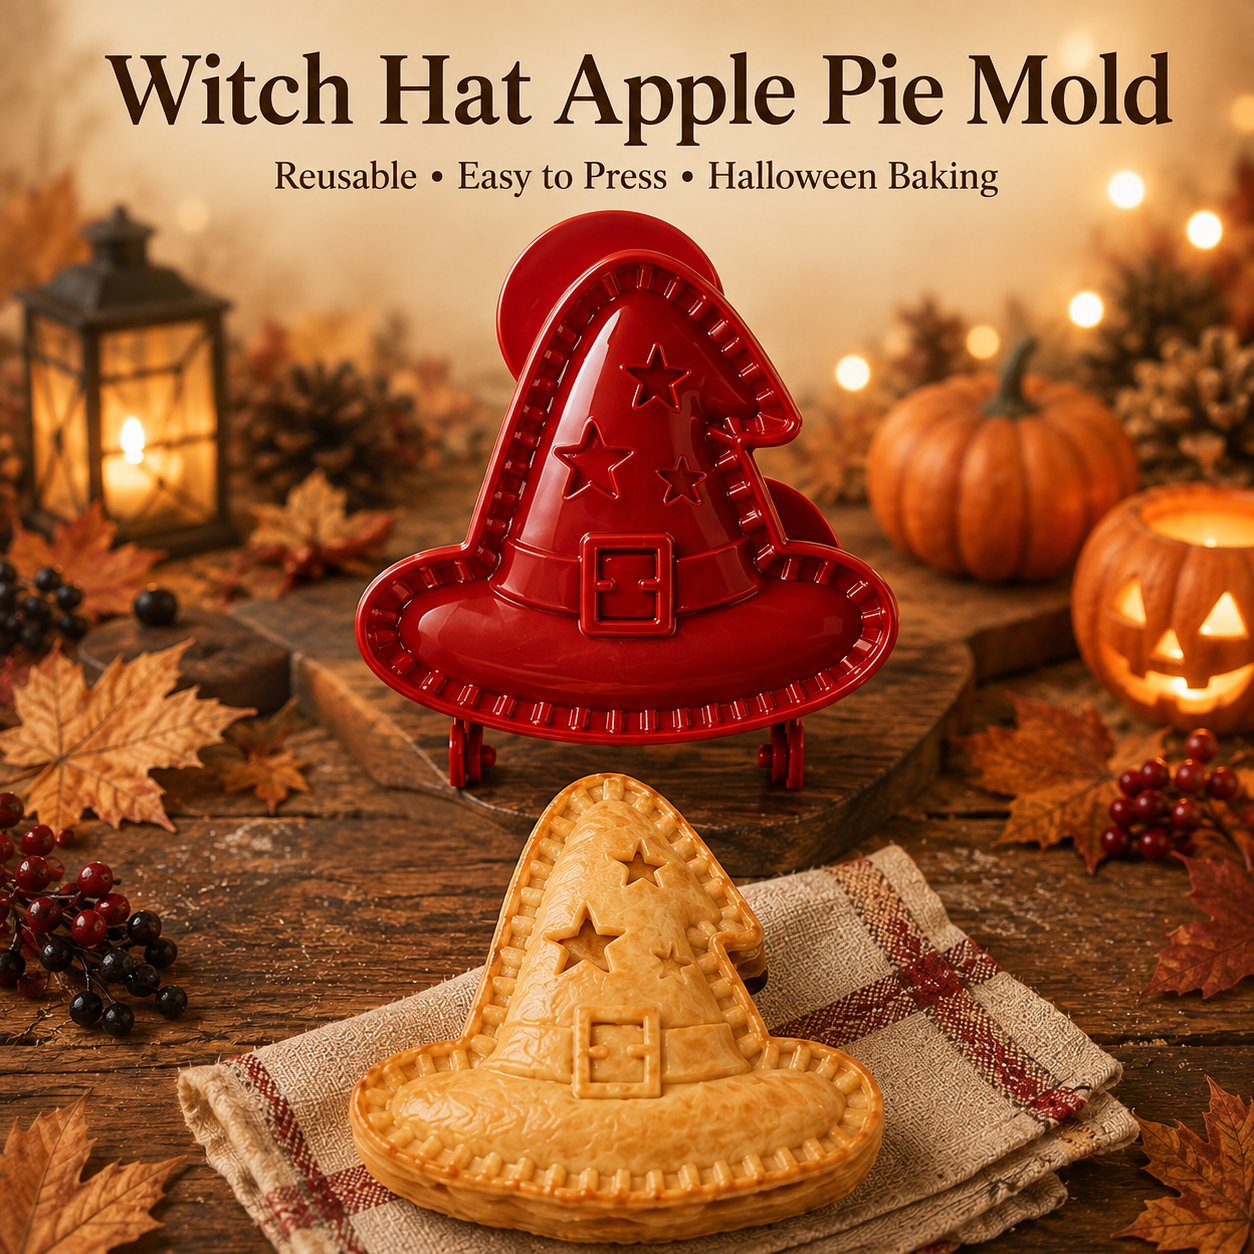
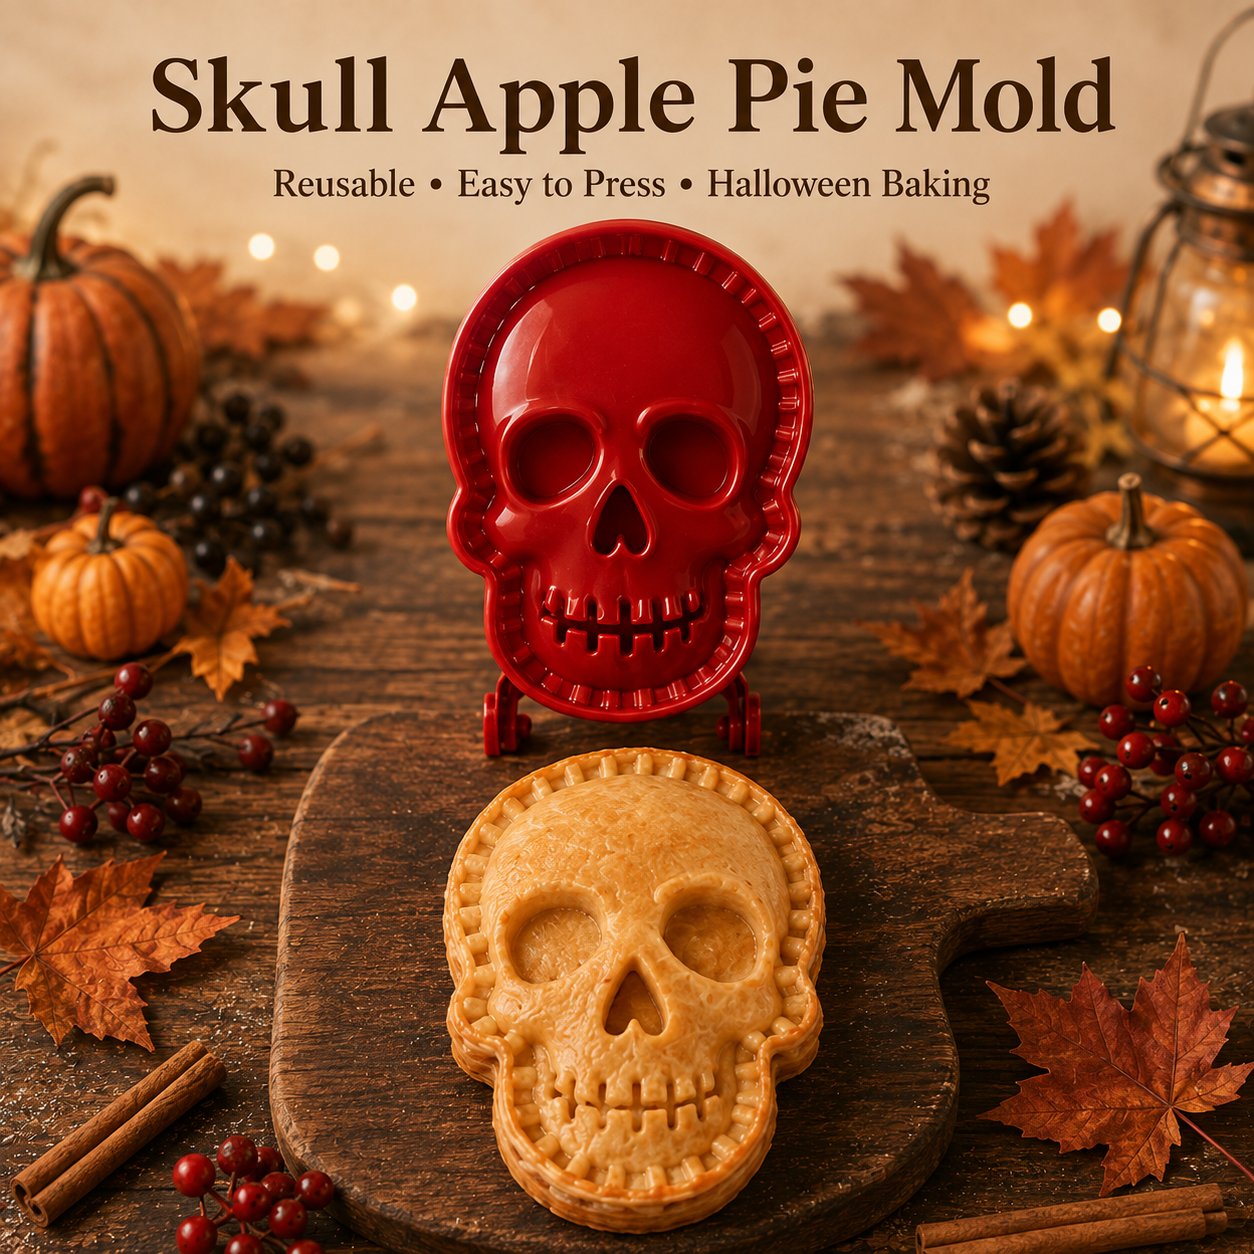
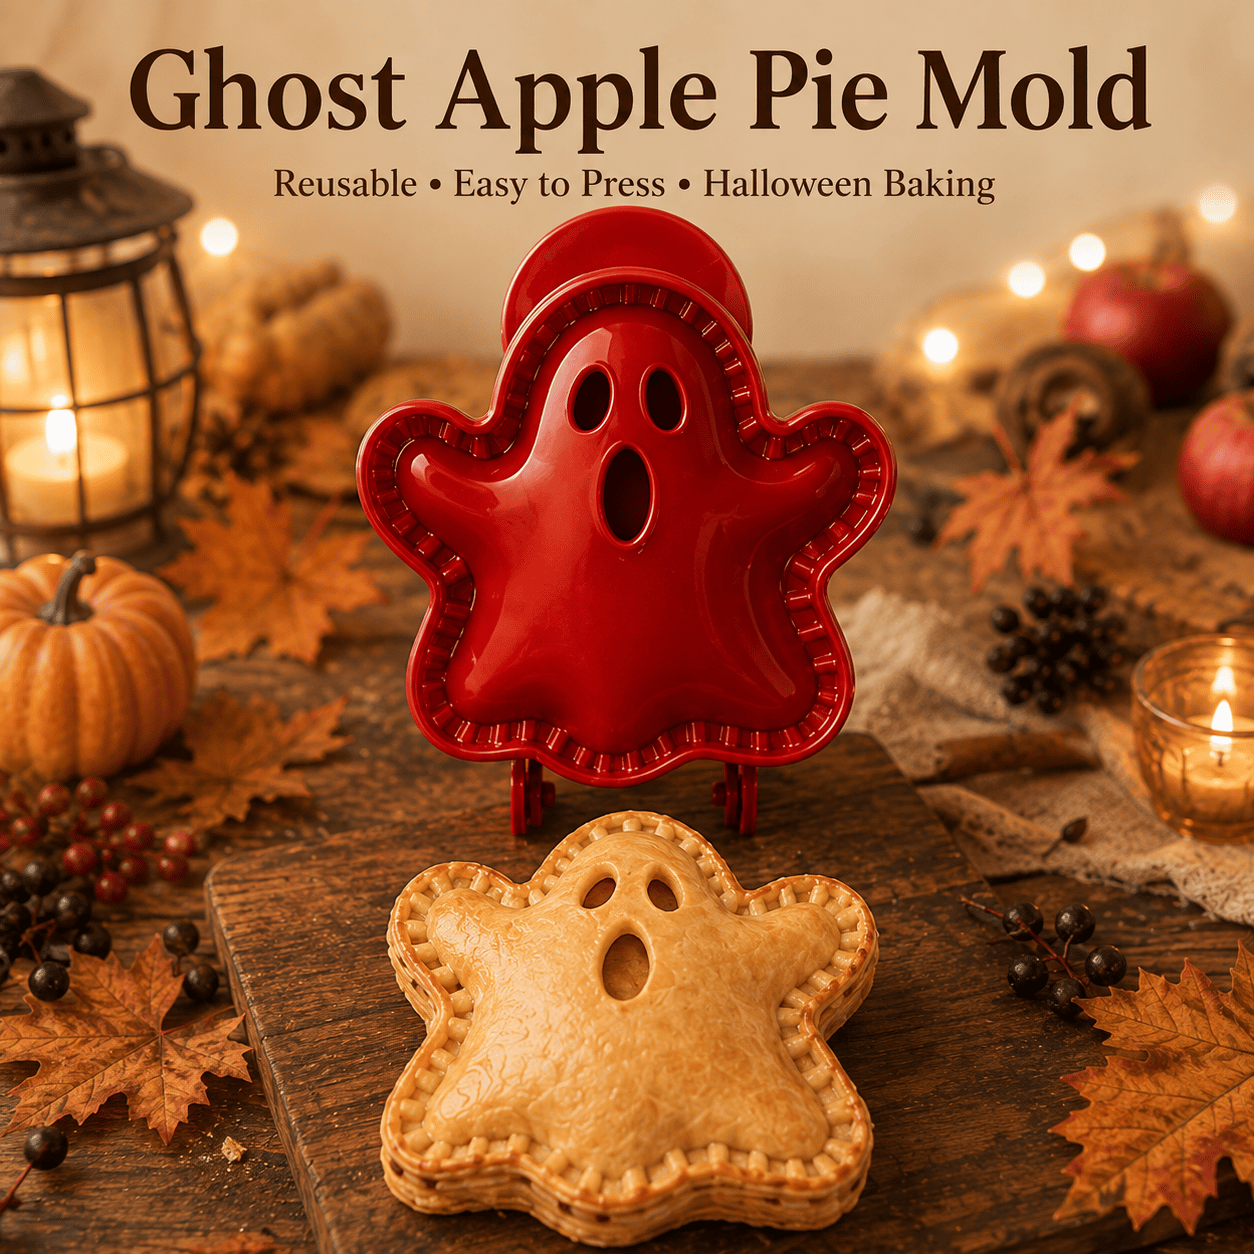
Pumpkin, ghost, bat, black cat, witch hat, skull, spider web and haunted house — guests can choose the character they want instead of seeing the same pie repeated.

🎃 Pumpkin 👻 Ghost 🦇 Bat 🐈‍⬛ Black Cat 🧙 Witch Hat 💀 Skull 🕸️ Spider Web 🏚️ Haunted House
Eight Halloween pie mold designs

From Rolled Dough to Ready-to-Bake

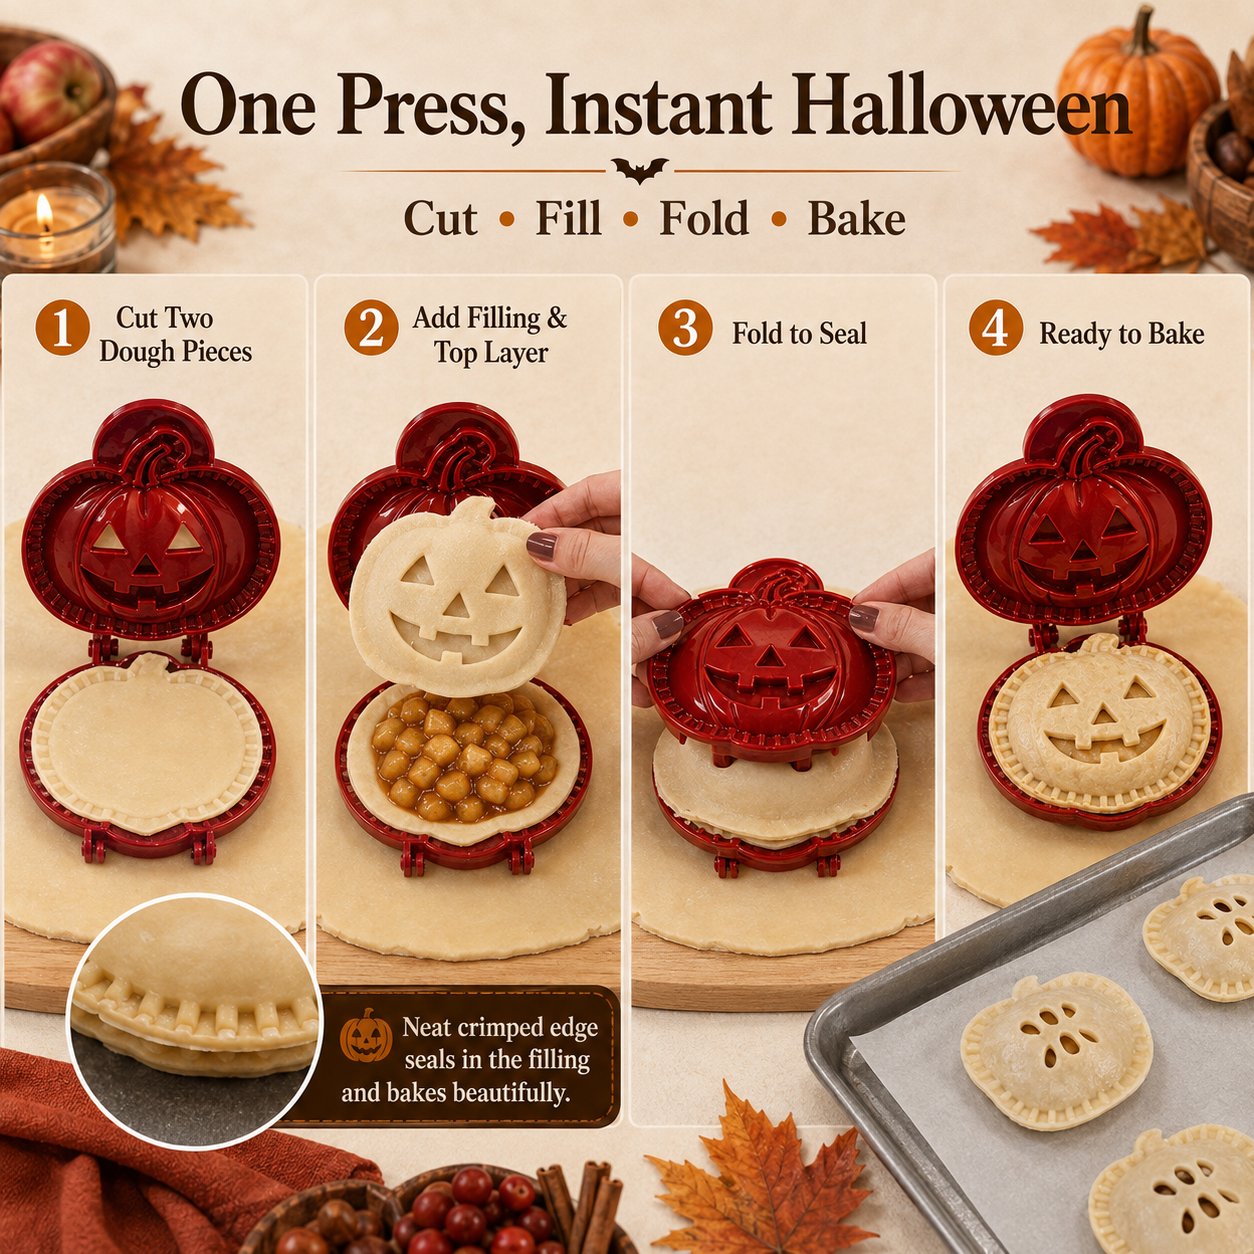
A simple DIY process makes it easy to switch between different Halloween characters.

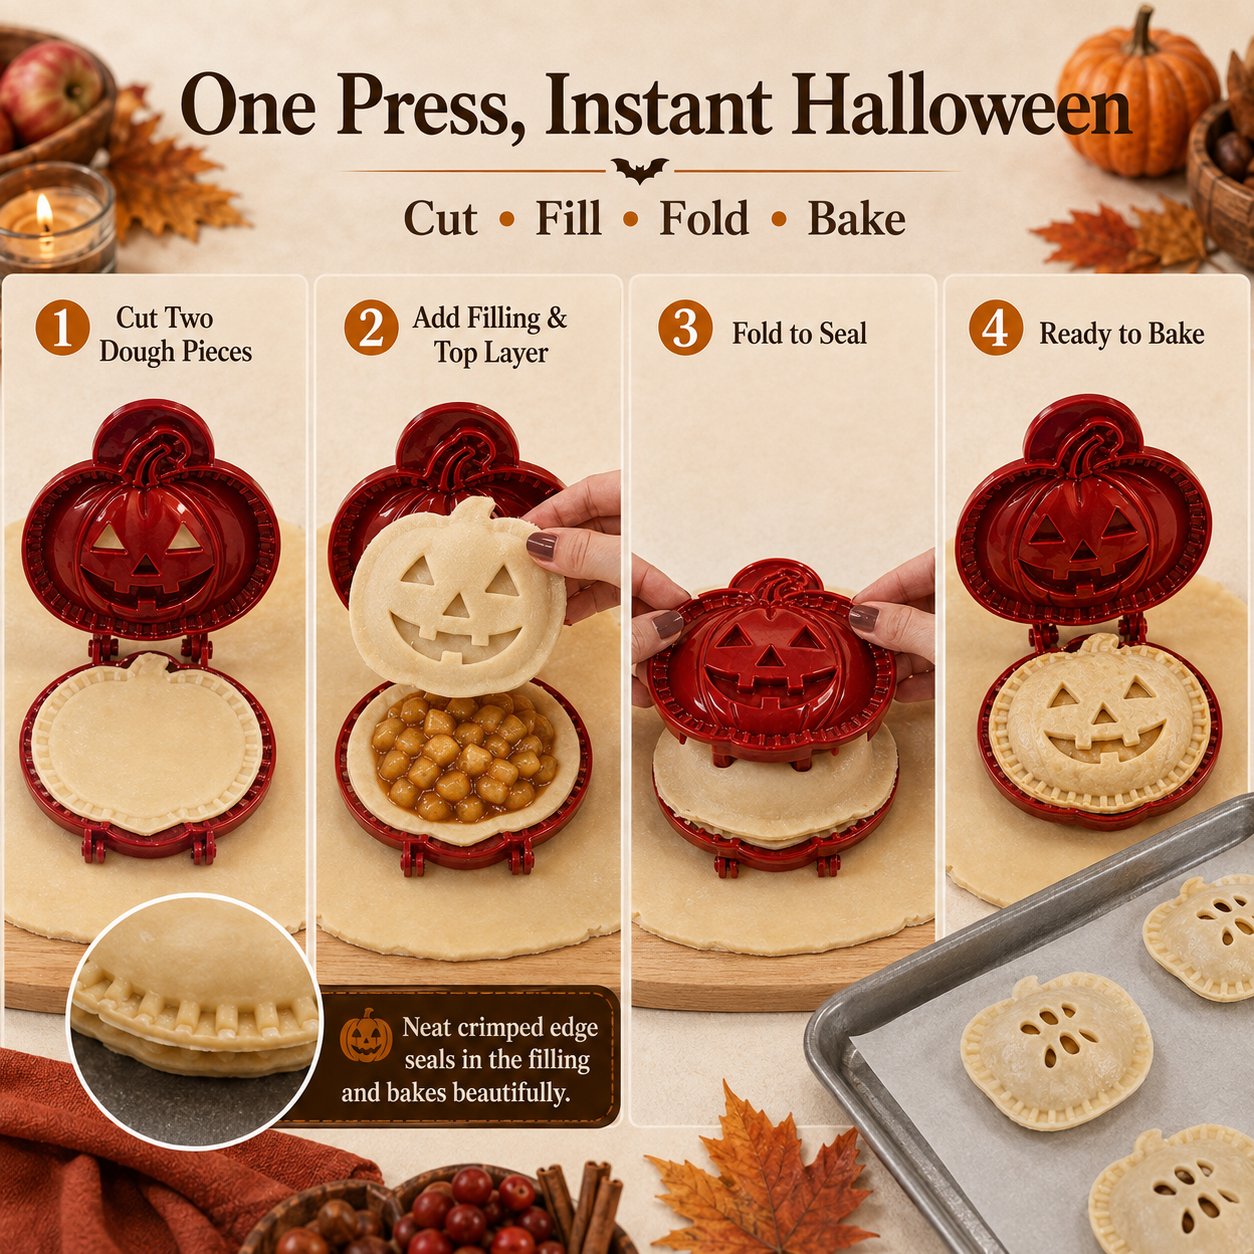
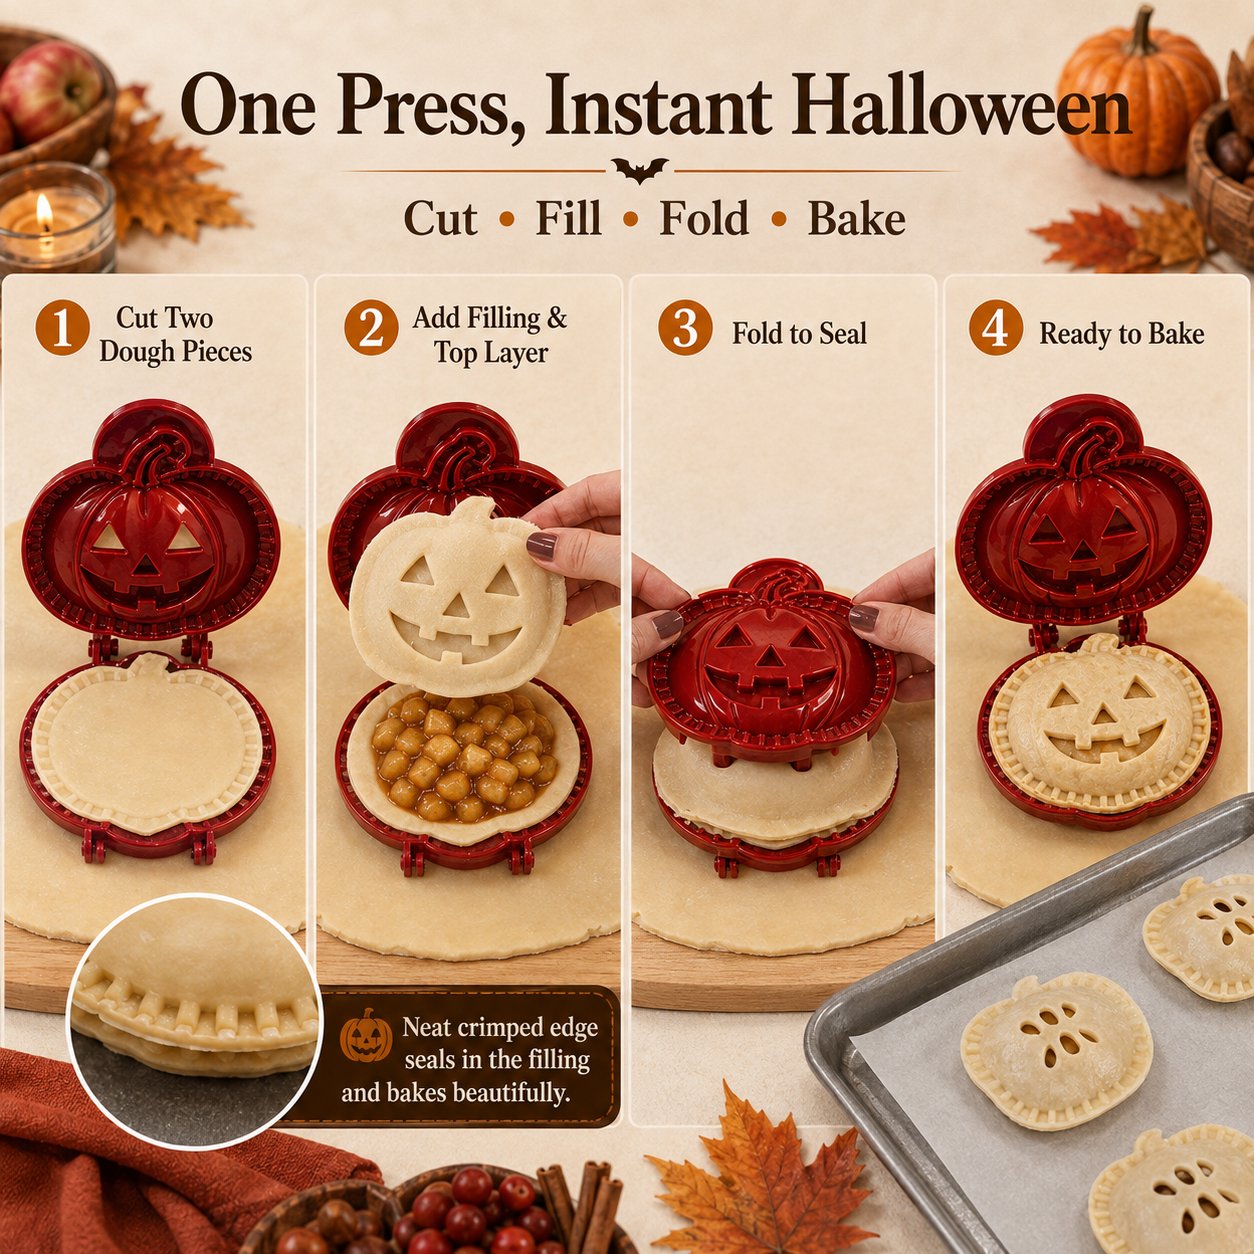
1. CUT — Open the mold over rolled dough to create two matching pieces.
2. FILL & COVER — Place the bottom layer in the mold, add an appropriate amount of filling, then add the patterned top.
3. PRESS & SEAL — Close the mold to bring the edges together and create the decorative border.
4. REMOVE & BAKE — Transfer the shaped pie to your baking sheet and bake according to your chosen recipe.
Important: The mold is for shaping only. Do not put the mold in the oven.
How to use the Halloween hand pie mold

A Personal-Sized Halloween Dessert — Not Just a Tiny Bite

Each mold measures approximately 4.7 × 4.7 in / 12 × 12 cm. That gives you an individual hand pie that can be served on its own instead of cutting slices from one large dessert.

Individual sized Halloween hand pies

Made for the Moments You Are Already Baking For

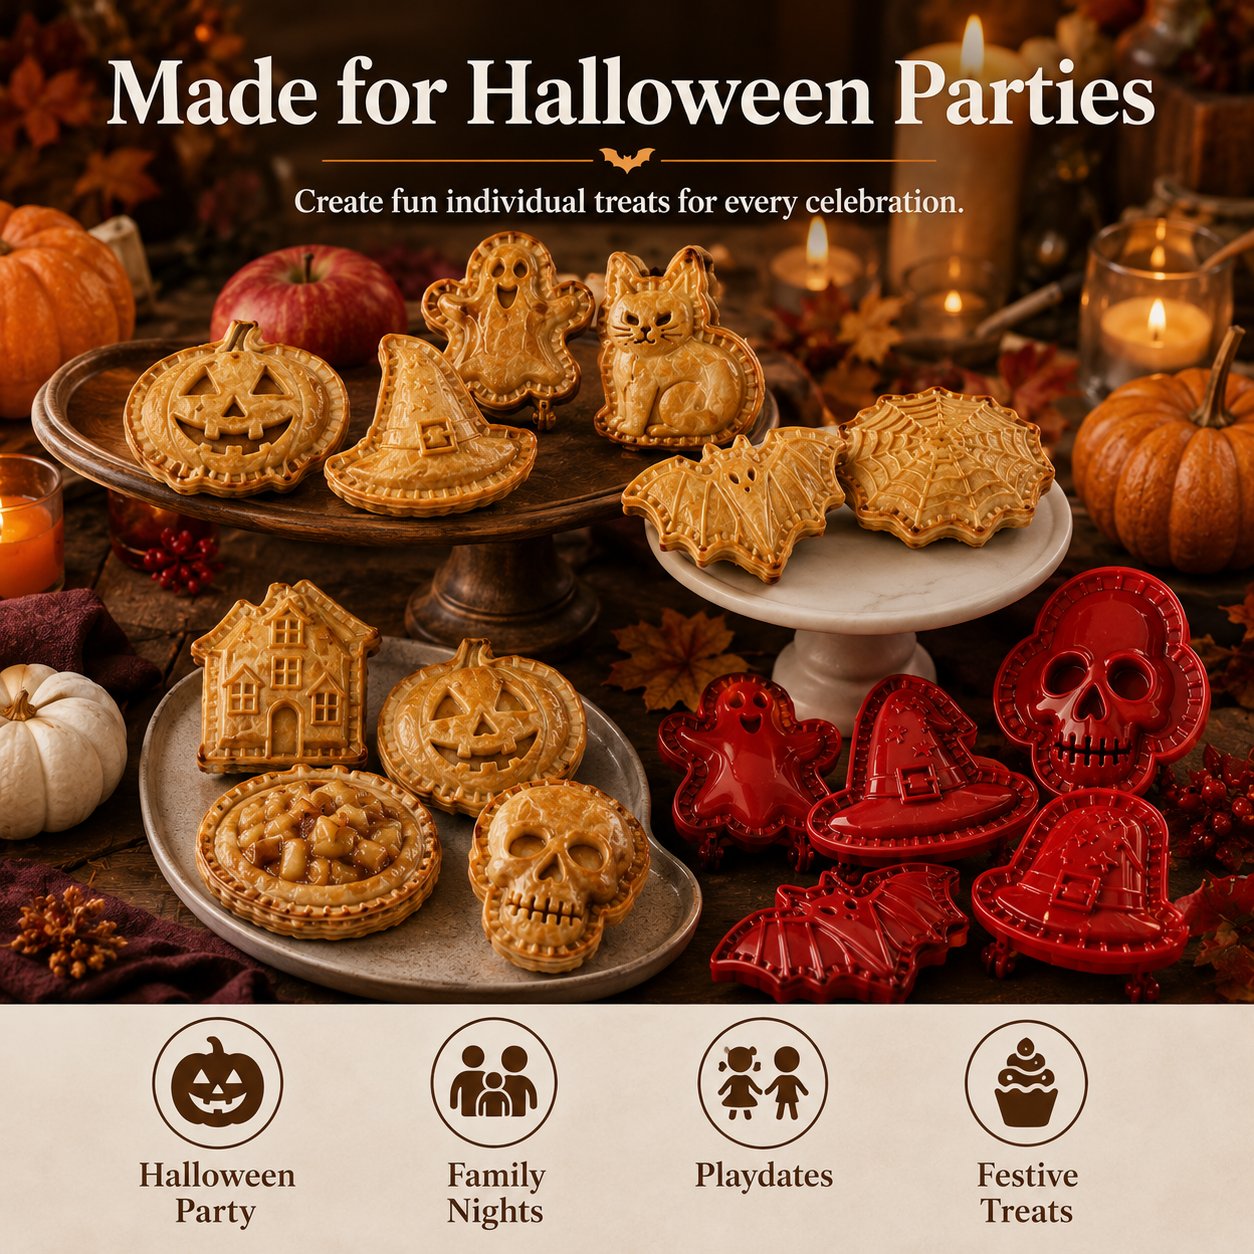
Use the set for Halloween parties, DIY family baking nights, autumn gatherings or a themed dessert table.

Halloween hand pies on a dessert table
🎉 Halloween Parties 🍎 DIY Family Baking 🕯️ Autumn Gatherings 📸 Dessert Displays

Turn Halloween Baking Into a DIY Activity

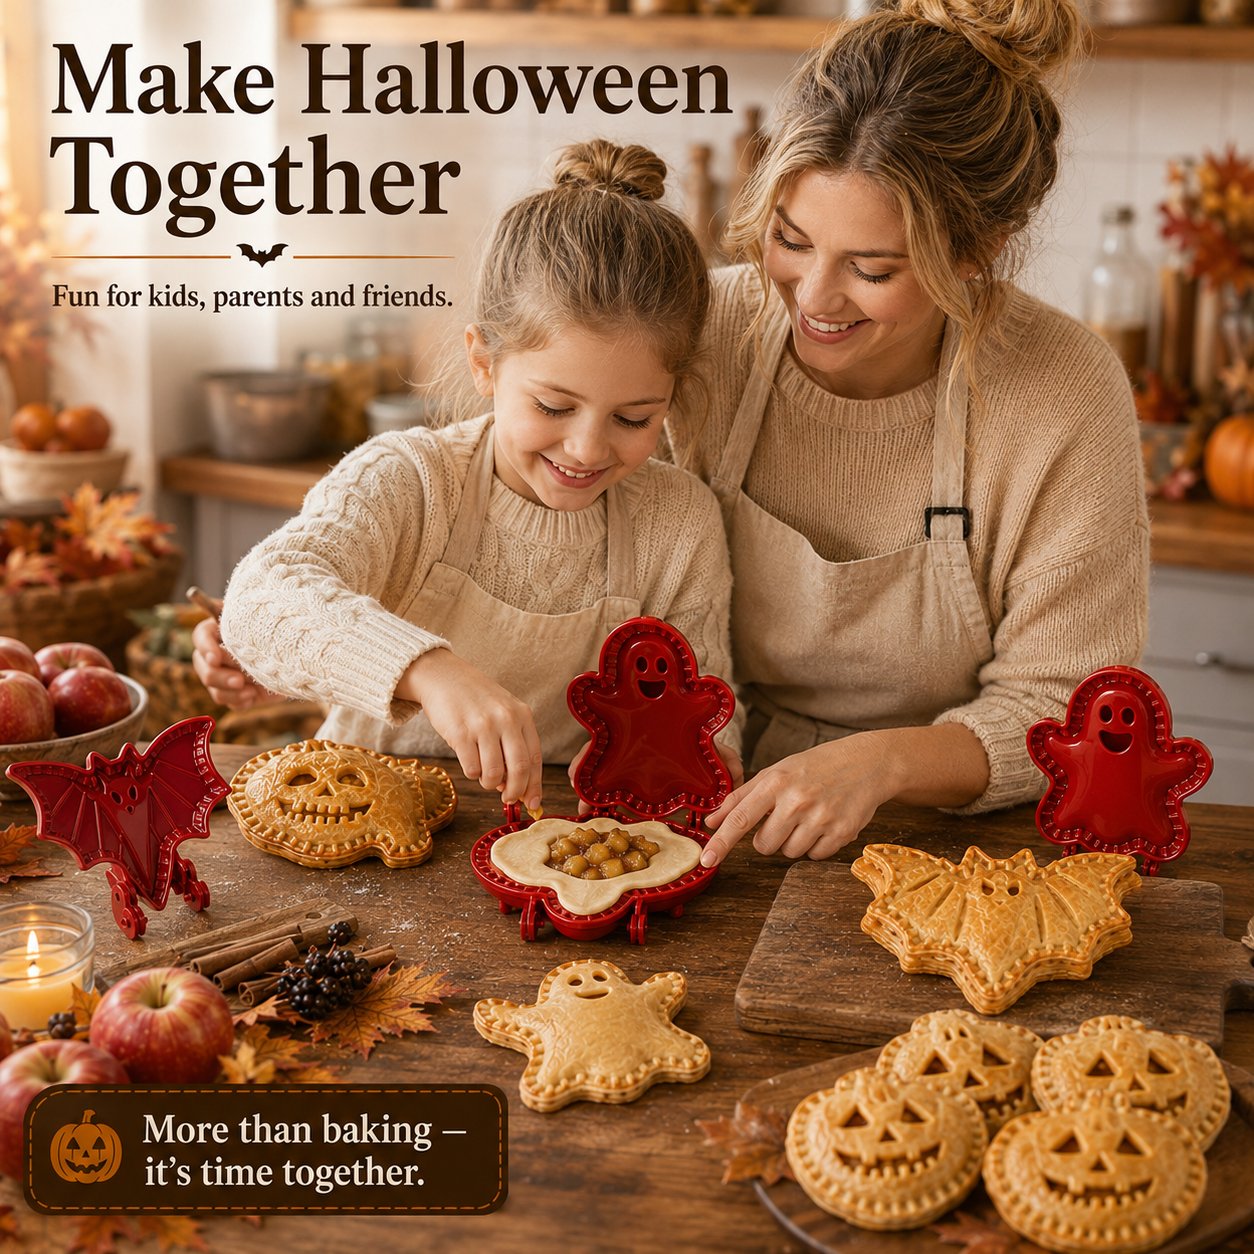
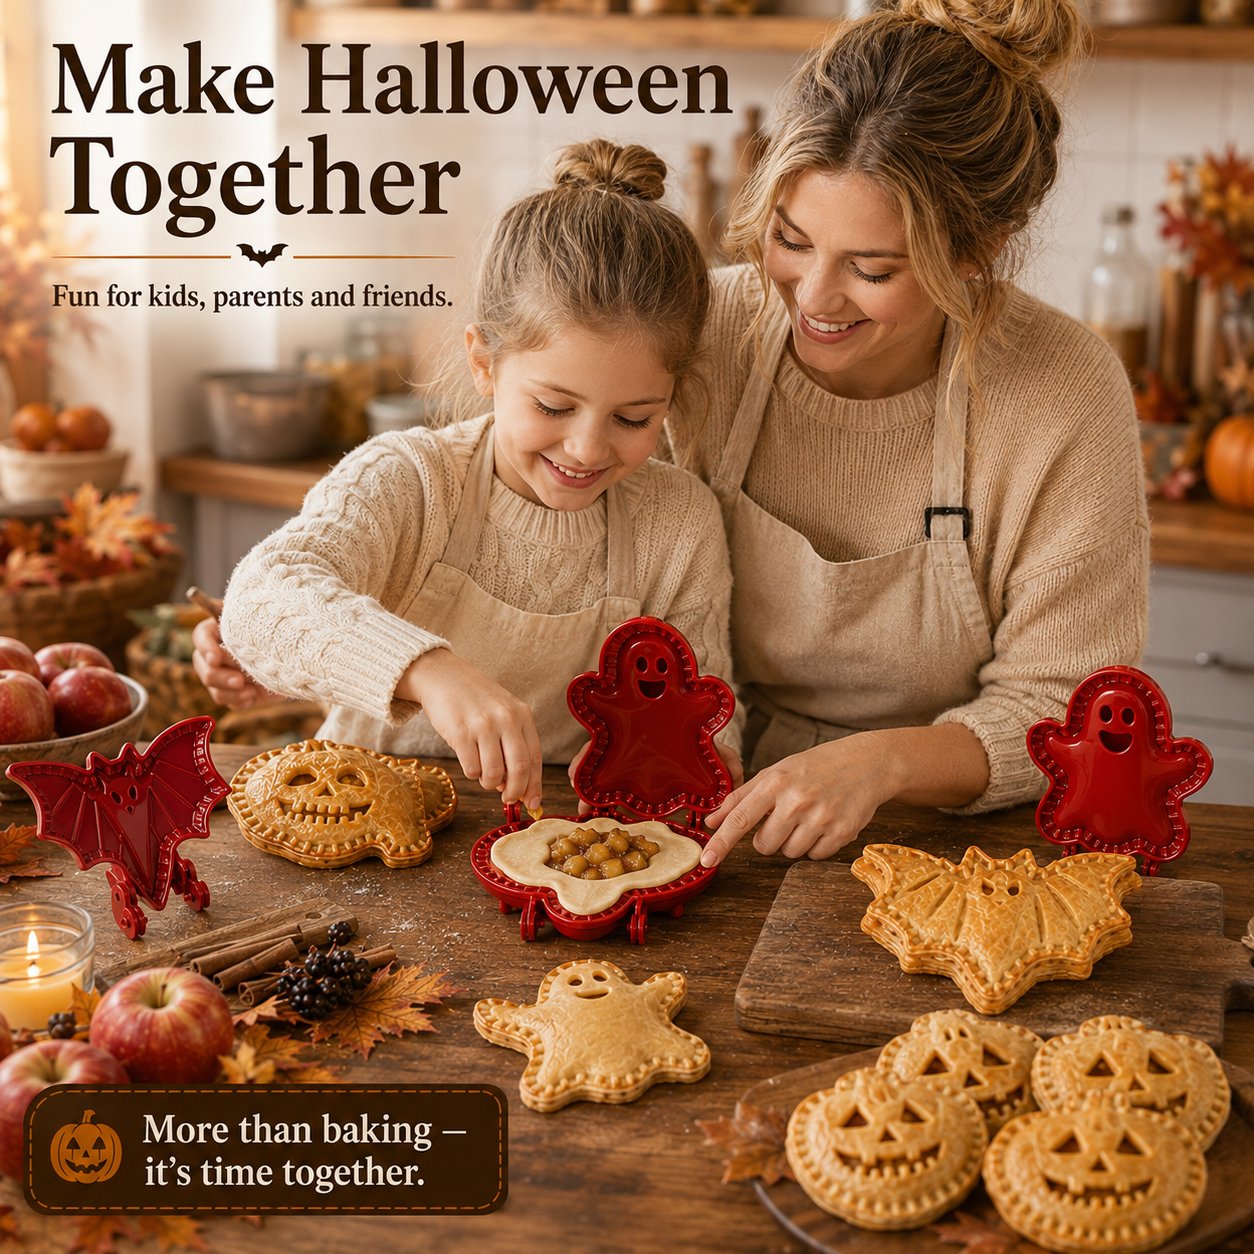
Children can help choose characters, position dough or add filling while an adult handles pressing, utensils and all oven-related steps.

DIY family Halloween baking activity

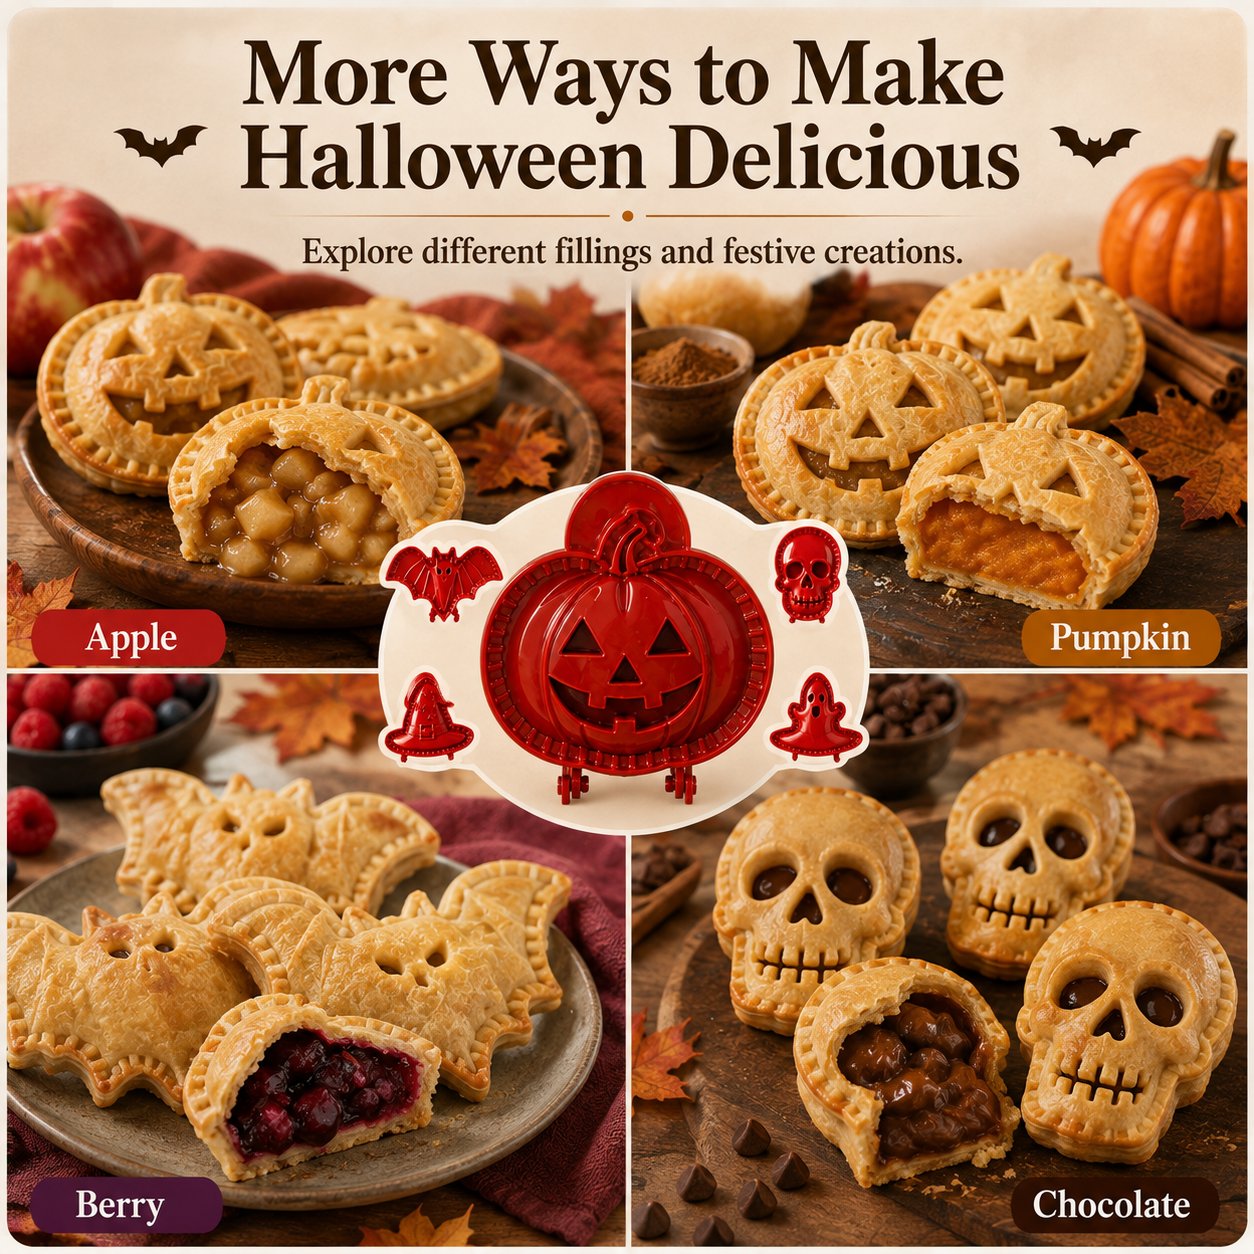
Change the Filling, Keep the Halloween Look

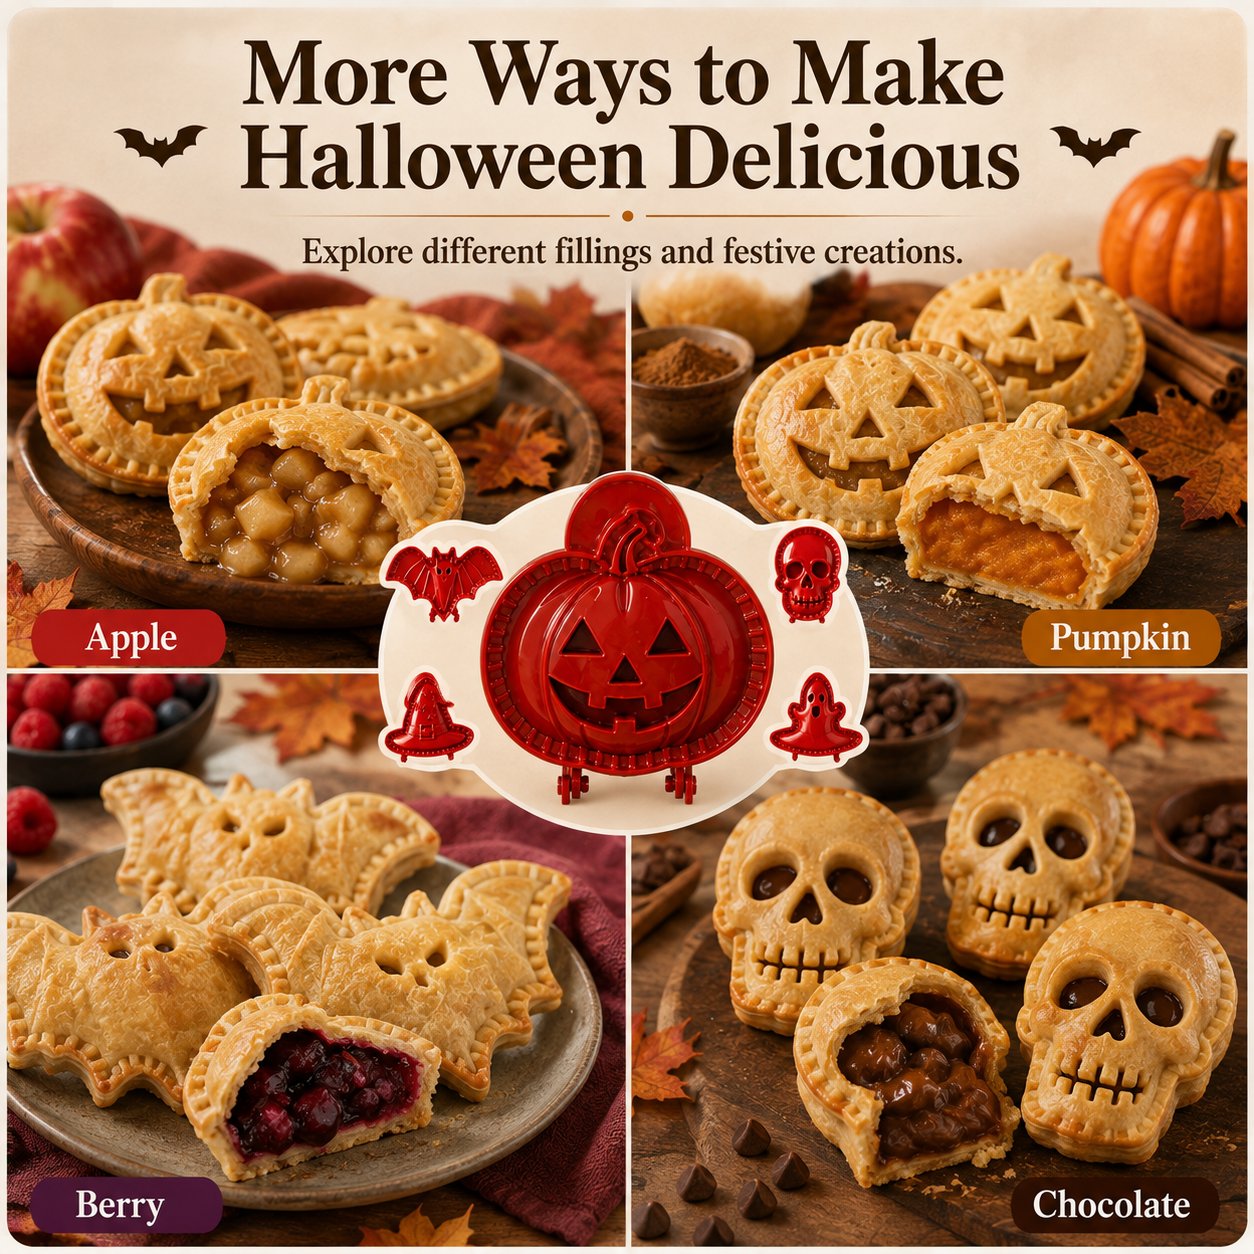
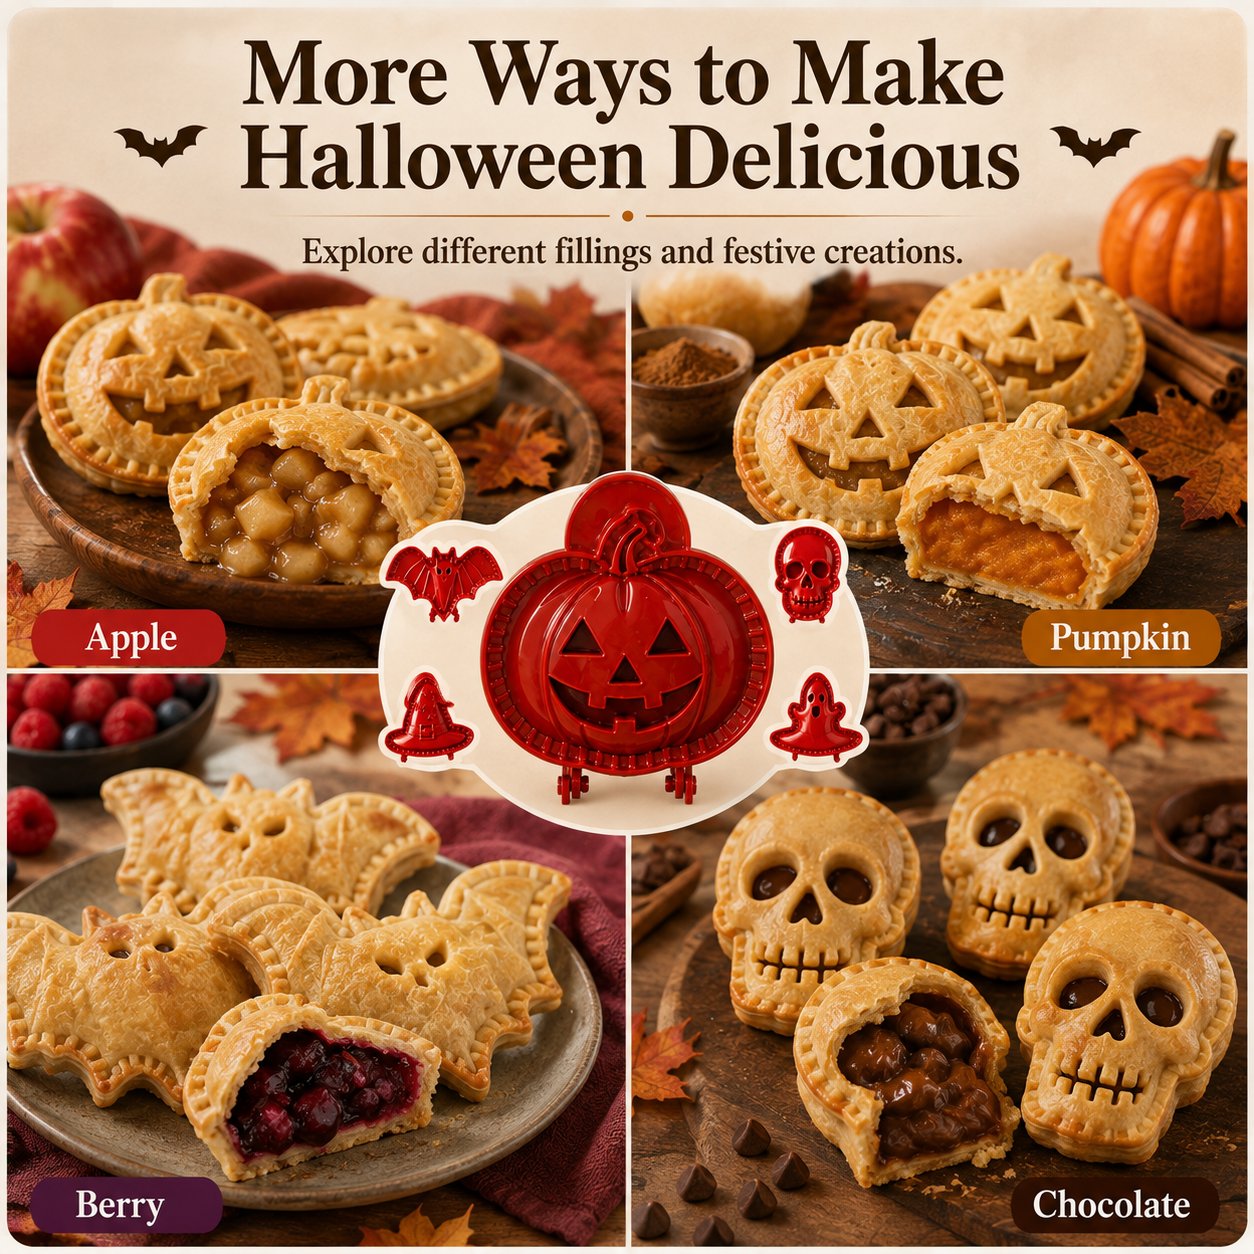
Pair the molds with compatible pie doughs and fillings such as apple, pumpkin, berry or chocolate-inspired recipes. The shape stays festive while the flavour can change from batch to batch.

Halloween hand pie filling ideas

What You Get From the 8-Design Set

🎃 8 different Halloween characters for a more varied dessert tray

🥧 Cut, shape and press dough with a hinged mold

✨ Easier DIY shaping for festive character designs

👻 Individual-sized desserts instead of one large pie

🍎 A fun DIY family baking activity with adult supervision

🕯️ A stronger Halloween presentation for parties and dessert tables

Questions Before You Order

Are the pies tiny?
Each mold measures approximately 12 × 12 cm / 4.7 × 4.7 in, creating an individual-sized hand pie rather than a tiny bite.
Do I need decorating skills?
No detailed decorating is required. The mold helps form the outline, decorative top and pressed border for an easier DIY result.
Is it difficult to use the first time?
The basic DIY process is simple: cut the dough, add filling, place the top layer, close the mold and remove the shaped pie.
Will the filling leak?
The pressed border helps bring the two dough layers together. Use an appropriate amount of filling and follow your recipe for the cleanest result.
Does the mold go into the oven?
No. Remove the shaped pie from the mold and bake it on your baking sheet according to your chosen recipe.

Product Notes

  • Please allow slight measurement deviations.
  • Actual colour may vary slightly due to display and lighting conditions.
  • Use an appropriate amount of filling to help reduce leaking during baking.
  • Follow your chosen dough and filling recipe for baking time and temperature.
  • The molds are used for shaping only and should not be placed in the oven.

🛡️ Shop With Confidence

✓ 30-Day Guarantee ✓ Friendly Customer Support

We'll do our best to make things right if you're not satisfied.

🎃 👻 🦇

Create Your Own Halloween Pie Collection

Eight designs, individual-sized pies and an easier DIY way to create festive Halloween treats. Select your set above and get your Halloween baking plan ready.

🎃 8 DESIGNS • DIY • CUT • FILL • PRESS • BAKE
Worry‑Free Returns
Shipping
Our Promise Shop with Total Confidence

Recently viewed

Cart

loading